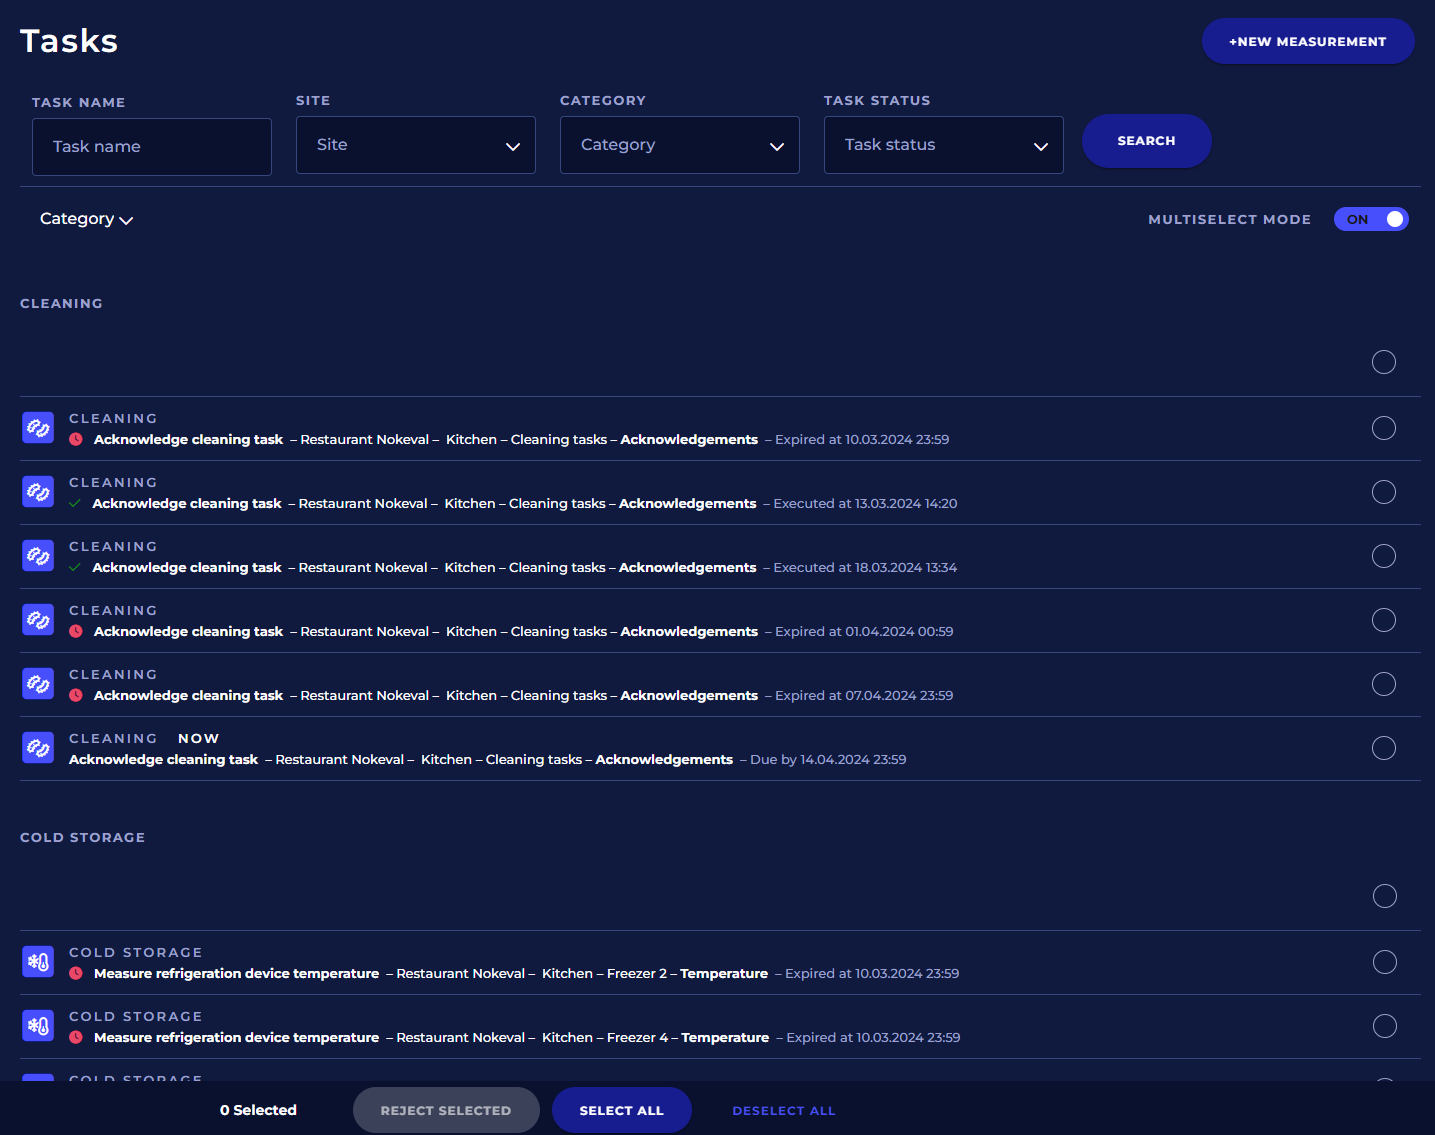
Through the task list, you can perform scheduled tasks. You can filter the list based on different criteria and organize tasks by either due date, category, site, or task status. Additionally, on the Tasks page, you can enter measurement results by clicking New measurement button.
You can filter the task list based on the following criteria:
-
Task name
-
Site
-
Category
-
Task status
Write or select the filtering criteria from the list and click the Search button to filter the task list.
You can sort the task list by:
-
Category
-
Site
-
Task schedule (Today, This week, This month, Other)
-
Task status
Depending on the type of task, you can complete it directly from the task list or through a separate task execution view.
When a downward arrow appears on the right side of a task in the list, you can complete it from there. If this arrow is not visible, you can only complete the task from a separate task execution view. Click on the task name to open this view.
Completing the task in the tasks list view
To complete a task from the list:
-
Click on the downward arrow at the right of the task to open it.
-
Depending on the type of task, click on one or several subtasks from the list. The "Task executed" button will become active once you have clicked enough subtasks to mark them as completed.
-
Finally, click on the "Task executed” button.
Completing the task in the task execution view
To open the task execution view, click on its name in the list. The execution view will then open.
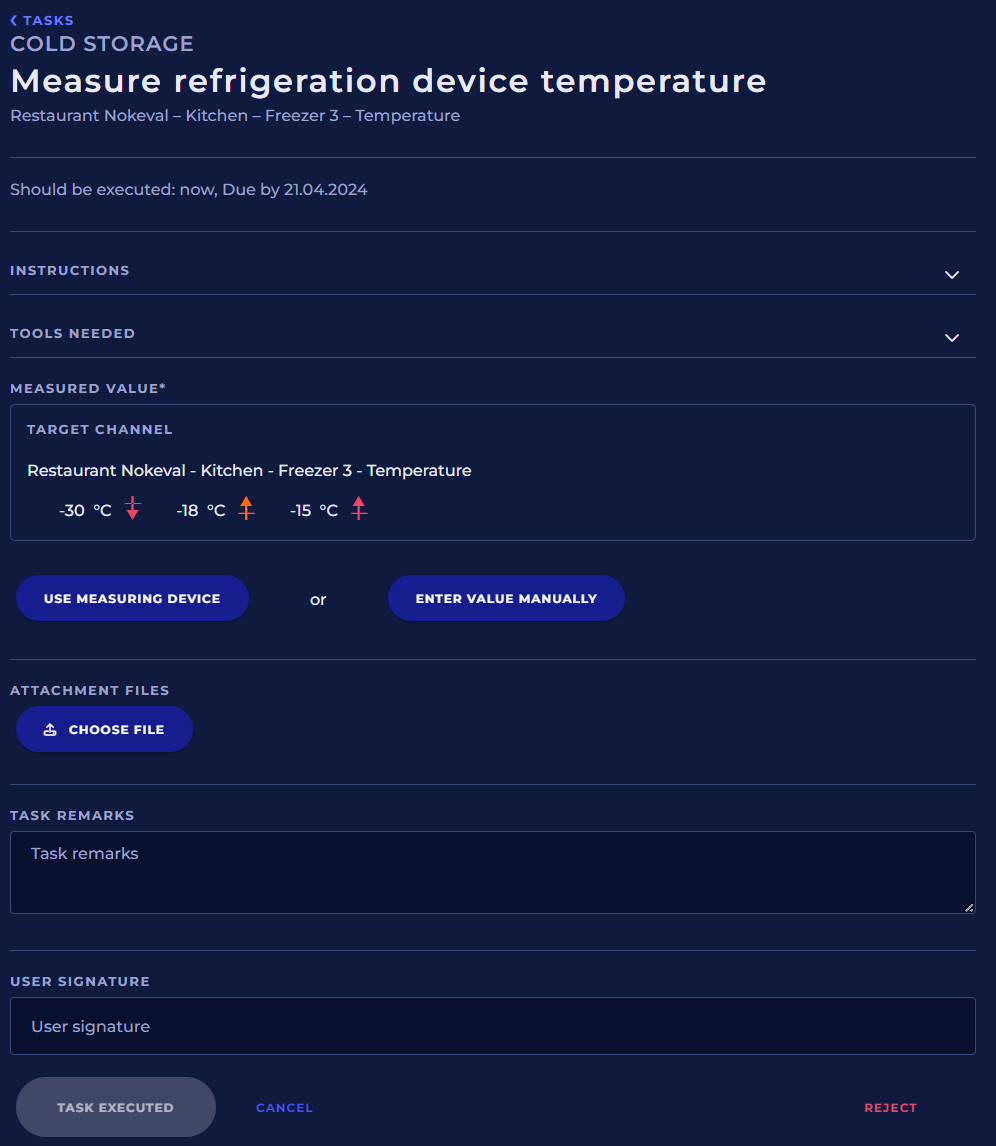
Task informations
At the top is a navigation link back to the task list (< TASKS).
Below that is the category to which the task belongs. (COLD STORAGE)
In large font size, next is the name of the next task. (Measure refrigeration device temperature)
Below that are the details of the task in the following order: Site - Block - Control Point - Channel.
By opening the Instructions section from the down-pointing arrow on the right side, you can see the task execution instructions.
By opening the Tools needed section from the down-pointing arrow on the right side, you can see what tools, materials, or substances you need to perform the task. This section will only show if tools are defined for this task.
Task execution details
Next the task execution view contains the following information. Depending on the task those can be:
-
Alternative choices, from which exactly one must be selected.
-
List of sub-task that user must complete all, some or none at all.
-
Preselections, from which user can select desired text to enter into a text field OR freely input text into the field.
It is also possible that the execution details of the task do not need to be marked at all.
Measuring result
If the task requires entering a measurement result, you must choose whether to use a measuring device to obtain it or enter the result manually.
Entering measurement result manually
To manually enter a measurement result:
-
Click on the Enter value manually button.
-
Enter the measurement result in the displayed input field using the specified unit of measure.
-
If you want to cancel entering the measurement result manually and use a measuring device instead, click on the X-button in the upper right corner.
Once you have entered the measurement result manually, proceed to enter additional details and your signature.
Using the Measurement Device
Click the “Use measuring device" button.
NSnappy remembers the last measurement device used at each performance point. This means that you can usually simply start the measurement device by pressing its power button, and within a few seconds, the measurement results will start appearing on the screen.
If no measurement device has been previously used at the channel, you must first select a device by clicking either "Scan a QR code" or "Select device." Similarly, you can also switch the measurement device in use.
Choosing the device by QR code
To read the QR code, click on the Scan QR Code button to activate your device's camera and scan the QR code from the device nameplate.
Your device may prompt you for permission to use the camera. You must grant this permission in order to successfully scan the QR code. Once you have granted permission, you will see the camera view on your screen and can aim it at the QR code on the device nameplate.
When the QR code reader identifies a valid code, it will close and select the device.
If you haven't already started up the measuring instrument using its power switch, do so now to connect it and begin seeing its results on screen.
Choosing the device from the list
Under the heading Select device is the list of your devices.
Choose the correct device from the list by clicking on it. The selection box for the device will close, and the device will be chosen.
If you haven't already turned on the measuring device from its power switch, turn it on now so that it connects and its results begin to appear on screen.
Measuring with Sense and Sense IR
The detailed instructions for using the Sense and Sense IR can be found in the NSnappy Sense series user manual.
Sense and Sense IR measure the temperature and send a new temperature reading to the service every few seconds. The reading updates on the screen when the device is connected to NSnappy.
Once the temperature reading has stabilized and is no longer changing significantly, press the power button on Sense again or click the "Lock Result" button on the screen. This will lock the reading on the screen, allowing you to fill in other details of your measurement task and complete it.
Measuring with Hygi
Detailed instructions for using the Hygi can be found in the Hygi device user manual.
The Hygi analyzes one surface hygiene sample swabs at a time. The status of the sample analysis process is updated in the service, and you can see the progress on the screen. When the sample analysis is complete, you will see the result on the screen.
You can then fill in other information about the measurement task and complete it.
Attachment files
To attach files, click the "Choose file" button to include them in the task completion. On a mobile device, you can take a photo related to the task and attach it from your device's photo library. The process may vary depending on the model and features of your mobile device.
On a computer, a file selection window will open, allowing you to search for and select the file to be attached.
Task remarks
In the "Task remarks" field, you can enter additional information related to the task's completion, up to 1000 characters.
User signature
In the “User signature” field, you can write your name or initials as proof of who completed the task. The details of the user who marked the task as complete are automatically linked to the task completion information, but the signature field is useful when using a shared user account.
Performing, canceling or rejecting the task
To save your information and mark the task as completed, click the Task executed button.
If you want to discard the information provided and leave the task incomplete for now, click Cancel.
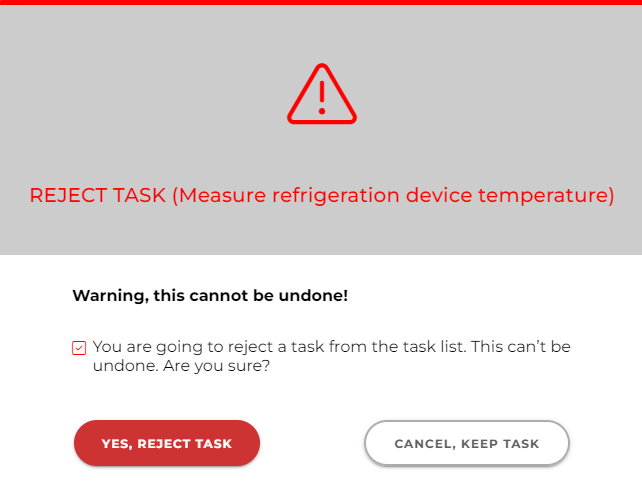
If you want to mark the task as rejected, click the Reject button. This will not save your information and will mark the task as rejected. The system asks if you want to reject the task. Select Yes, reject task. If you don't want to reject the task, select Cancel, keep task. Once rejected, you will no longer be able to complete the rejected task later.
When you reject a task, it disappears from the task list. You cannot undo a rejection.
Rejecting mutiple tasks at once
You can reject multiple tasks at once by first enabling Multiselect mode. After that, you can select multiple tasks from the list by marking them with the round buttons on the right side of the list.
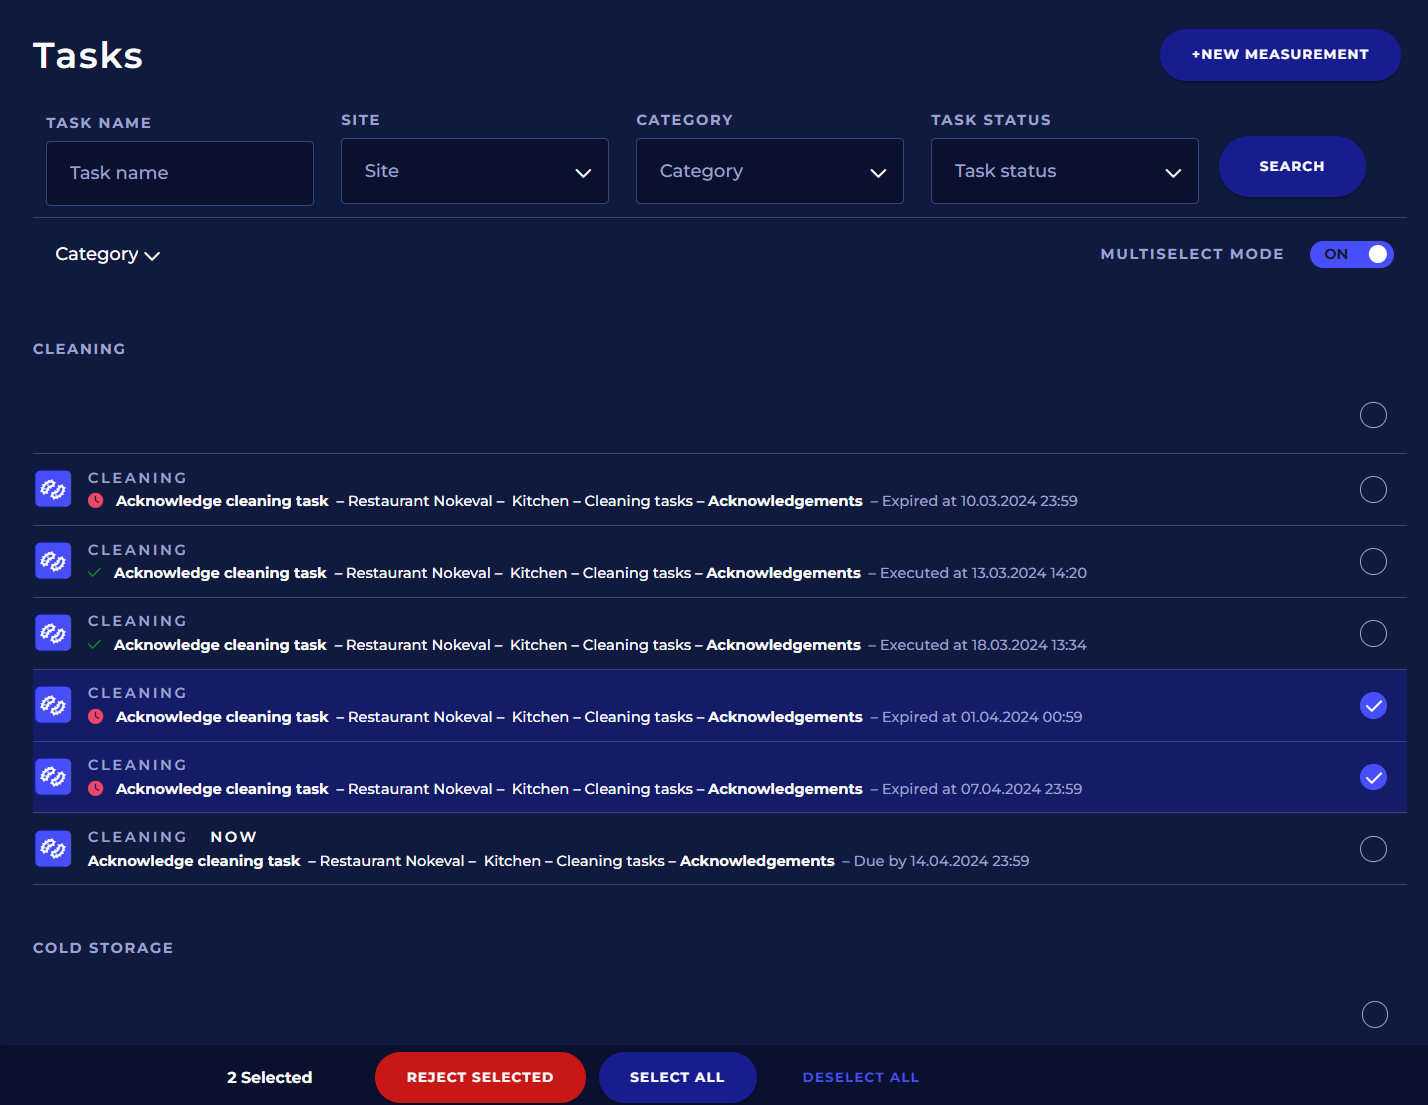
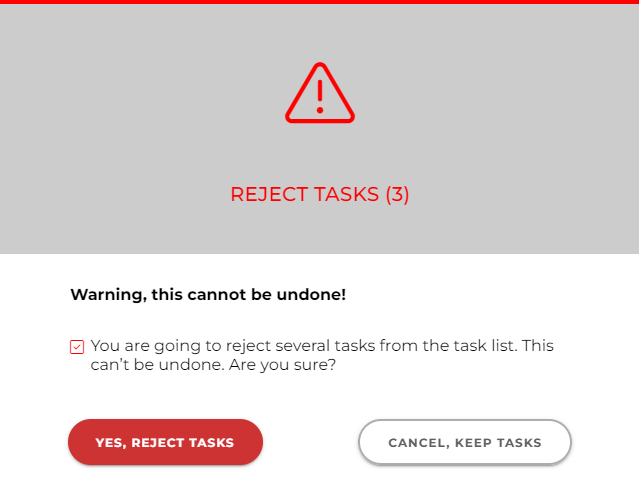
You can reject all selected tasks at once by clicking the red Reject selected button at the bottom. You can also select all tasks visible on the list using the Select all button or clear all selection checkboxes from the Deselect all link.
The system asks if you want to reject the tasks. Select Yes, reject tasks. If you don't want to reject the tasks, select Cancel, keep tasks. Once rejected, you will no longer be able to complete the rejected tasks later.
When you reject a task, it disappears from the task list. You cannot undo a rejection.