
With task descriptions, you define what, where and when needs to be done.
You can create as many freely named task descriptions as you like, which are linked to channels and a schedule. In addition, the task description can be linked to one category.
Task descriptions should be named uniquely and briefly, but descriptively. When tasks according to the task description are created in a timed manner to be performed on the task list, the name of the task description appears as the name of the tasks and as the title.
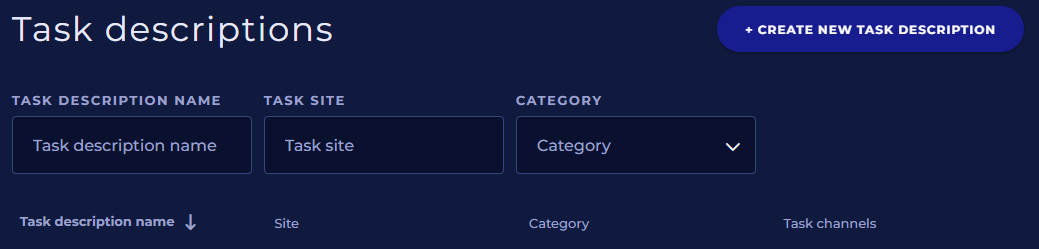
The task description list shows the task name, site (if the task is site-specific), category and the number of channels attached to the task description.
You can filter the task description list with the following criteria:
-
The name of the task, also part of the name
-
The site of the task, also part of the name of the site
-
Category, select from the list
Creating and editing a task description
Create a new task description by clicking the Create new task description button in the upper right corner.
Edit an existing task description by clicking its name in the list.
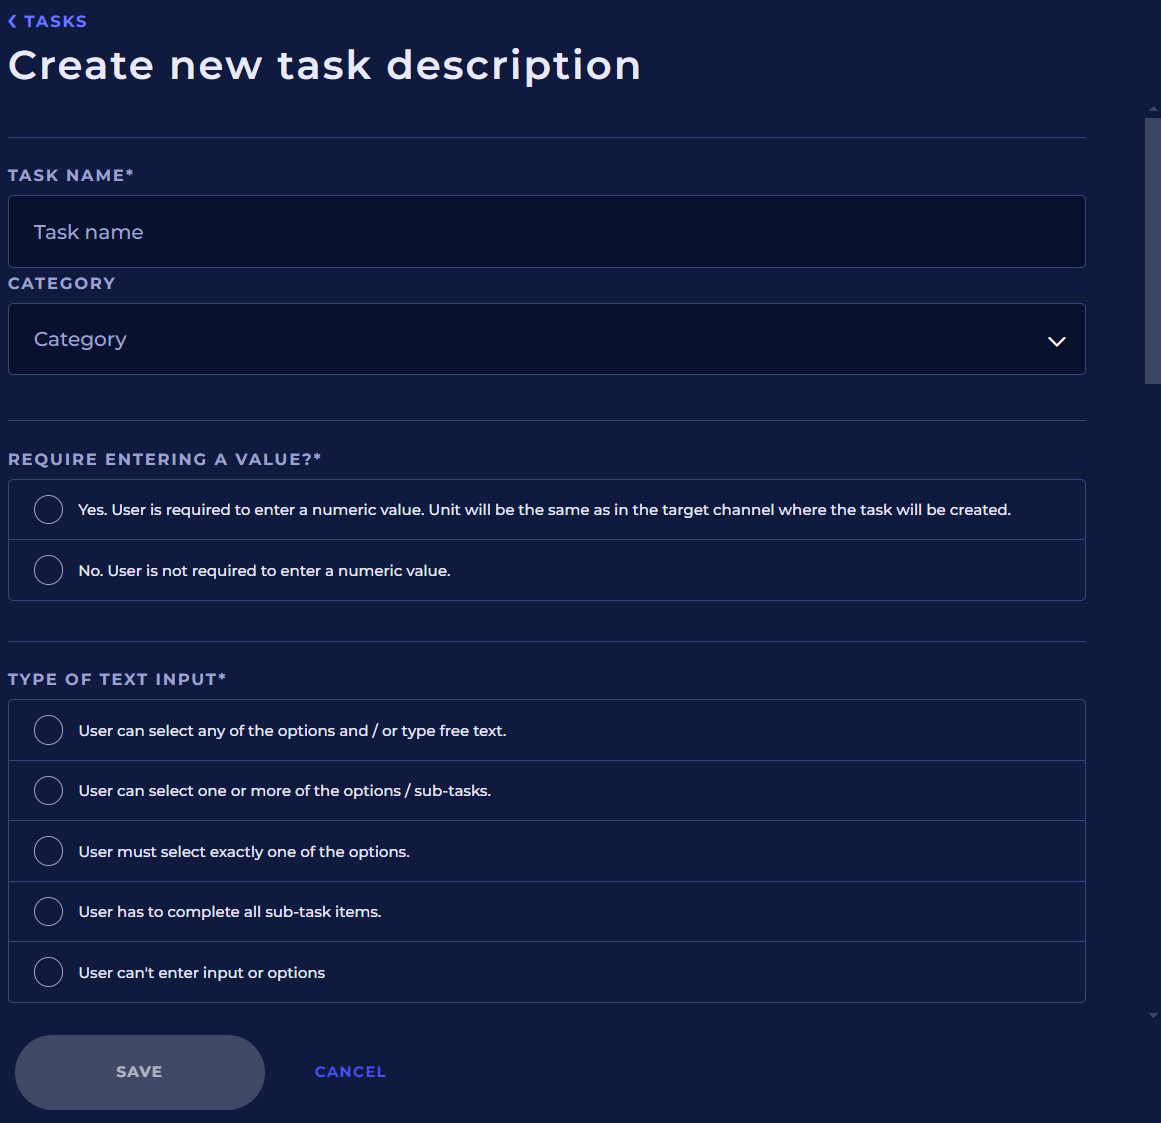
Task name
The task must be given a unique name that briefly describes what needs to be done in the task. The maximum name length is 100 characters.
Category
You can choose which category the task description belongs to.
Required entering a value
Select Yes or No. There are two main types of task descriptions:
Yes. User is required to enter a numeric value. Unit will be the same as in the target channel where the task will be created.
The user performing the task must enter the numerical measurement result. The user can choose whether to enter the measurement result manually or to use a compatible NSnappy measuring device to obtain the measurement result.
-
Such tasks cannot be performed directly from the task list, but the task must be opened in the task execution window to complete it.
No. User is not required to enter a numeric value.
Tasks that can be performed directly from the task list without entering the task execution window.
Type of text input
When performing the task, the user can collect a text input in four different ways or not at all:
-
User can select any of the options and / or type free text
-
User can select one or more of the options / sub-tasks
-
User must select exactly one of the options
-
User has to complete all sub-task items
-
User can’t enter input or options
Options for text input / sub-tasks
You can add the required number of answer options or sub-tasks to the task description, which the user can select and complete when completing the task.
Add answer options or sub-tasks from the link Add an option / subtask. When you add a row to the list, you must give it a unique name or delete it.
You can remove answer options or sub-tasks from the trash icons.
Brief instructions and Tools needed
You can also save performance instructions and information about the necessary tools and materials in the task description in their own data fields. The person completing the task can open the instructions, tools and materials for reading from the task completion window.
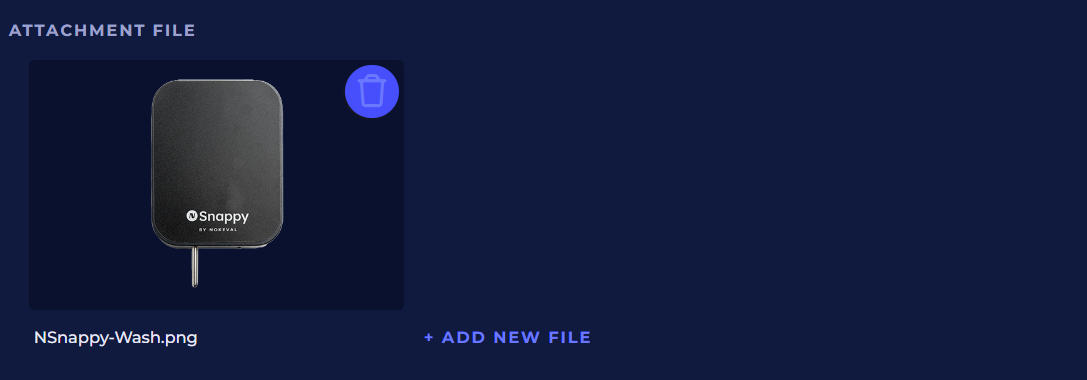
Attachment file
You can also attach attachment files to the task description, for example, more detailed instructions that the person performing the task can download to read from the task execution window.
Click the Choose file button to download the attachment. The details of downloading the file depend on the terminal device used.
You can see a preview of the uploaded attachments in the task description. You can download more files from the Add new file link.
You can delete attachment from the trash icon.
Product type
You can choose the type of NSnappy measuring device to acquire the measurement result during task execution. However, the measurement result can always be entered manually if needed. This choice only matters when entering the measurement result is defined as mandatory in the task description.
Click the drop-down menu to select the device product type. You can filter the list using the search field. After selection, the product type of the selected device appears in the drop-down menu.
If you do not want to limit the product type of the measuring device to be used, click the Clear selection button below the list.
Device
If the task description requires that the measurement result must always be obtained with a specific device, you can select it here.
Click the drop-down menu to select the device by serial number.
If you don't want to select which device to use, click the Clear selection button.
This choice is only relevant when entering the measurement result is defined as mandatory in the task description.
Select a site to let admins of that site to modify this task description
The client admins have the rights to modify all the tasks of the client. With this selection, you can also give the site admin the right to edit the task. Site admin is a user who has admin rights to the specific site but not to the whole client.
Click the drop-down menu to select a site from the list. Select a site from the list. You can filter the list using the search field. To clear a selection, click the Clear Selection button.
If you don't want to make this task description site-specific and give editing rights to this task description to the site, leave this field blank.
Channels of the task
In order for tasks to be created on the task list based on the task description, you must select the channels for which tasks are created from this task description.
To select channels or edit the selection, click the Select the channels to which tasks will be created link.
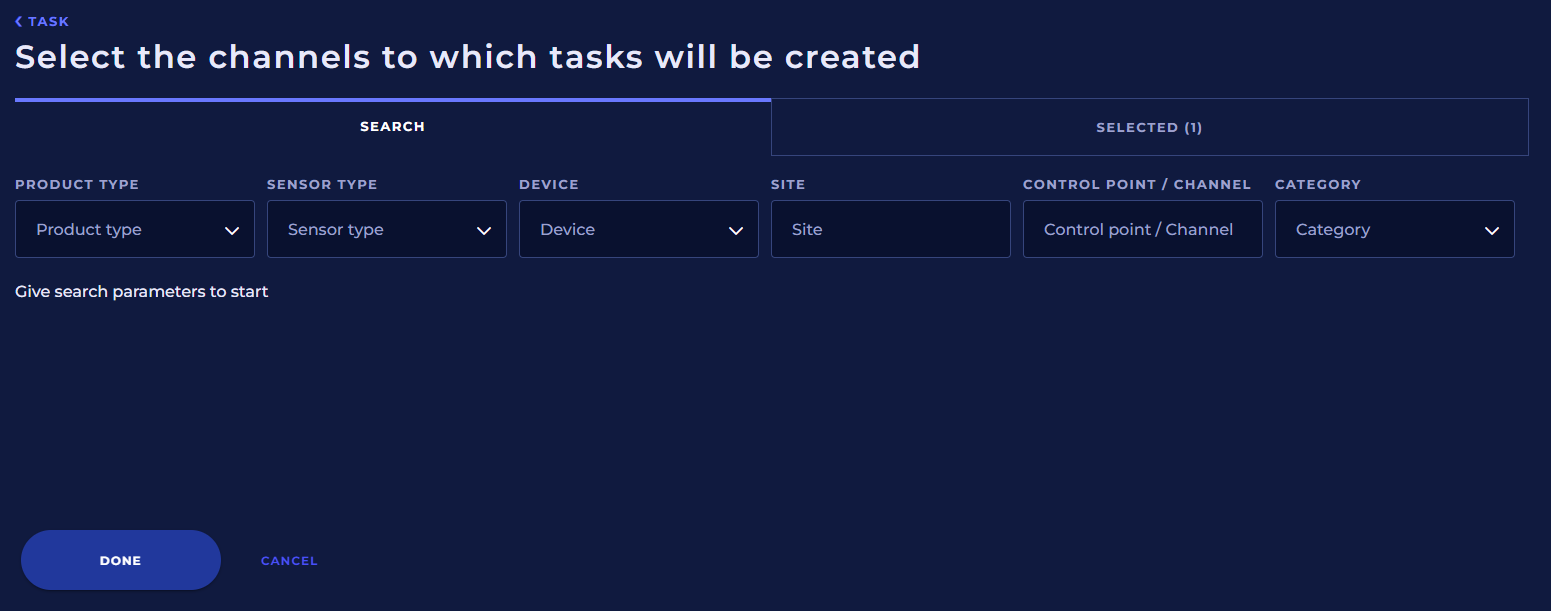
Select the channels for the task
There is a separate effective view for selecting channels for the task.
Selection is done accordingly:
-
Select the appropriate filtering criteria. Channels can be filtered by product type, sensor type, device, site, control point/channel and category.
-
Select the channels you want from the list by clicking Add in channels row. When you click the Add link, the channel is added to the Selected list, and its Add link changes to a check mark.
You can remove selected channels either from the checkmarks or by going to the Selected.
In the Selected list, you can see the channels selected for the task description and their number from the list title.
When you are finished and have selected the necessary channels, click the Done button.
You can cancel all changes you made to the channel selections by clicking the Cancel link.
Schedule
Tasks according to the task description are always created for the channels selected in the previous section at the start time of the selected schedule.
Click the drop-down menu to select a schedule.
Execution
Choose whether the task can be done once or many times during its validity period.
One time
Select this if you want the task to be executed only once during its validity period. The task is removed from the task list when it is executed. A new similar task is created according to the schedule.
For example, if the task is a weekly task that is executed once a week, select this option. At the beginning of each week, you get a new task that you can execute once during that week.
If the task is not executed during the validity period if the task, the task is removed from the scheduled task list when its validity period ends.
Multiple times
Select this if you want the task to be able to be executed multiple times during its validity period. The task does not leave the scheduled task list even if it is executed. The task is removed from the list only when its validity period ends. A new similar task is created according to the schedule.
Expiration time
The expiration time is the time after the task appears, after which the task is removed from the task list.
The expiration time can be a maximum of 365 days, 23 hours and 59 minutes.
Examples:
-
The task is valid for one week: 6 days, 23 hours and 59 minutes
-
The task appears on the task list on Monday at 7:00 a.m. and you want it to be executed by Friday at 5:00 p.m.: 4 days, 10 hours and 0 minutes
Pre schedule period
The pre schedule period indicates how much earlier the task will appear in the task list before the task's validity period. The task cannot be executed before the start of the validity period, even though it appears on the task list.
If you leave this point blank and the task will appear on the task list when it can be executed.
Saving task description
When you have filled in the necessary fields, select Save at the bottom of the page. The Save button is only activated when all mandatory fields have been filled in.
If you do not want to save the task description, select Cancel.