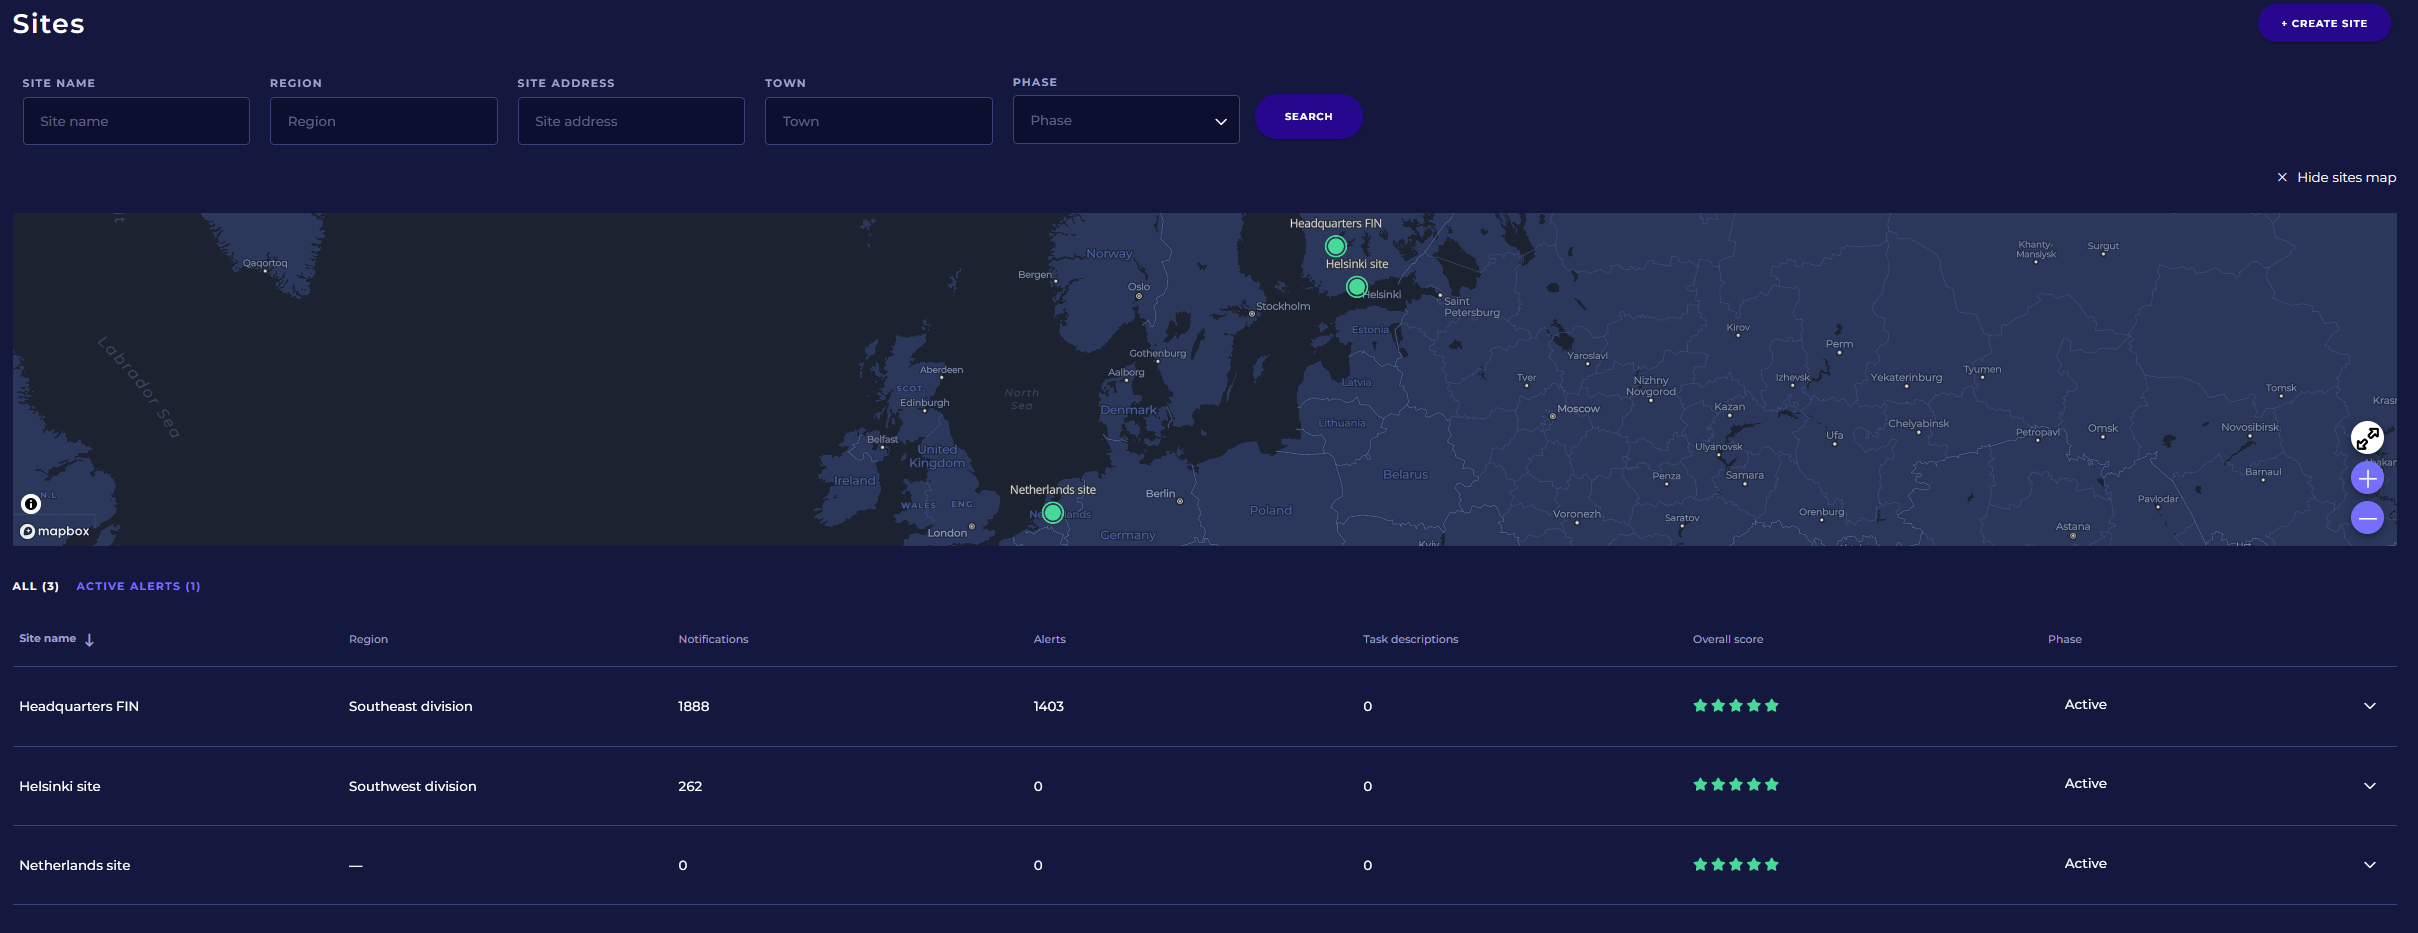
Sites page lists the sites user has usage rights. From sites pages it’s possible to approach monitoring data geographically and by site.
In addition to site list, the sites are shown in a map. Site map can be shown or hidden based on the need. It’s also possible to expand the site map to full screen or zoom in and out using the plus and minus buttons.
Click site from the map or from the list to open the site view.
Read more about sites: Site
Search criteria
You can search and filter the sites displayed on the list and map by site name, region, address, town, and site phase. Enter or select the search criteria and click Search.
Columns
Site list can be ordered by the columns:
-
Site: Name of the site
-
Region: Name of the site’s region (e.g. region or other geographical area)
-
Notifications: Amount of site’s notifications which are not acknowledged
-
Alerts: Amount of site’s alerts which are not acknowledged
-
Tasks: Site’s tasks which are scheduled and not yet executed.
-
Overall score: Overall score for the site. Read more: Overall score
-
Phase: Site’s phase
Click column hearders to sort the site list. Arrow next to the column header indicates the column by which the list is sorted and in which direction.
Creating a site
Click the +Create site button in the top right corner to launch the new site creation dialog, which will prompt you step by step for the necessary information to create a new site.
Step 1/4: Basic information
In the first step the basic information for the site are provided.
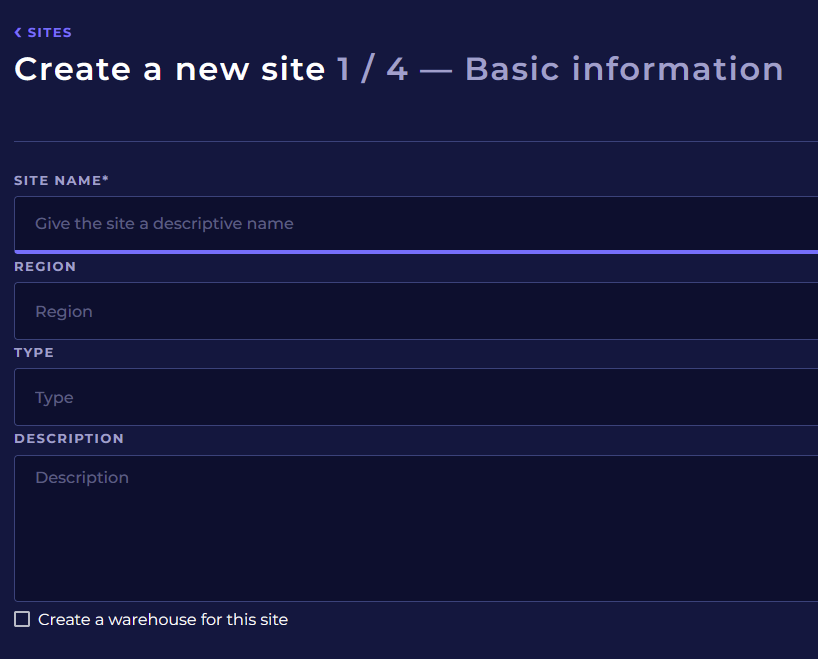
Site name
The site must be given a unique name, with a maximum length of 50 characters.
Region
You can provide a business area for the site, which allows you to filter different site locations into the site list. When you enter the name of the region the service suggests existing regions from which you can choose or continue entering a new region. The maximum length is 50 characters.
Type
You can provide a type for the site, for example “Restaurant”, “Warehouse”, “Factory”, “Kitchen” etc.
When you enter the type the service suggests existing types from which you can choose or continue entering a new type. The maximum length is 50 characters.
Description
You can write a description of the operations of the site, up to 5000 characters long. This description, along with other site information, are included in to the self-monitoring plan/HACCP report.
Enter the required information and click Continue to proceed to the next step. You can cancel creating the site with Cancel button or from the < Sites link.
Step 2/4: Contact information
Site contact information is provided in step 2.
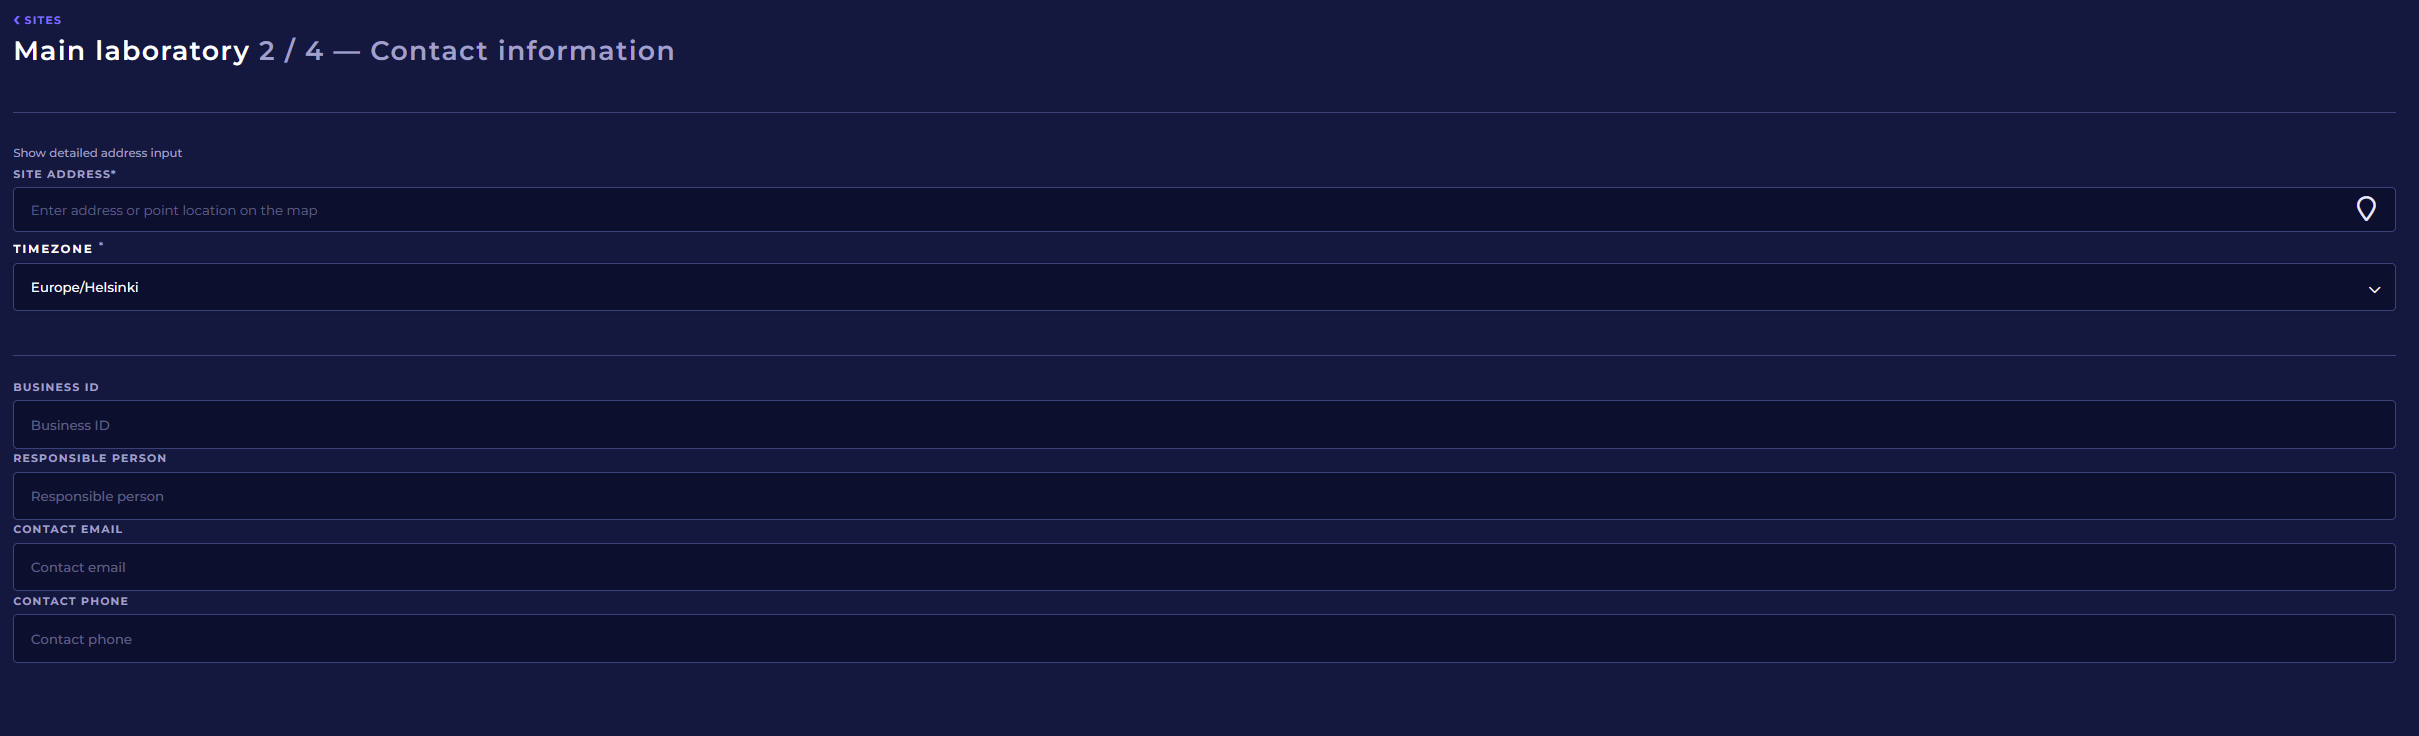
Site address
An address must be provided to the site, either by entering the address or selecting it by pointing on the map. To select the address from the map, first click on the map pin on the right side of the site address field. This will open a world map that you can zoom in and out to find the address on the map.
When you enter an address in the site address field, the service suggests the closest matching addresses. You can continue typing the address or select one of the suggested addresses.
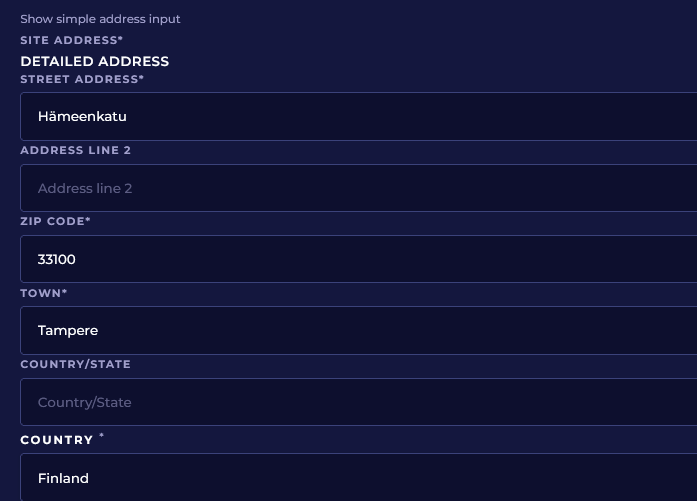
If you want to edit the address details in detail, first click on the Show detailed addess input link.
After that it’s possible to enter detailed addess. Click Show simple address input to return to simple address view.
Timezone
Choose from the drop-down menu the correct time zone for the site. The selected time zone determines the time zone used in calculating long-term statistics (such as daily averages) for the sites channels.
Business ID
Responsible person
You can enter the site's self-monitoring or other responsible person name. The maximum length is 50 characters.
Contact email
You can enter the email addess for the responsible person. The maximum length is 254 characters.
Contact phone
You can enter the phone number for the responsible person. The maximum length is 50 characters.
Enter the required information and click Continue to proceed to the next step. You can return to the previous step by clicking Previous (the information you entered will be saved) or cancel the creation of the new site from the < Sites link.
Step 3/4: Additional information
In the third step it’s possible to provide optional additional information, e.g. opening hours.
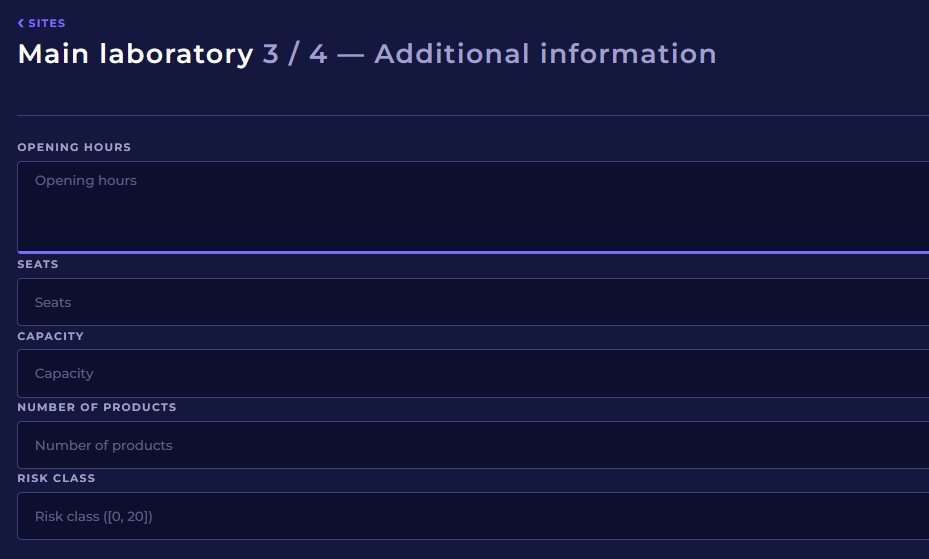
Opening hours
You can write the opening hours of the site in free text format. The maximum length is 500 characters.
Seats
You can write the seat information of the site in free text format. The maximum length is 50 characters.
Capacity
You can write the capacity information of the site in free text format. The maximum length is 50 characters.
Number of products
You can write the number of products of the site in free text format. The maximum length is 50 characters.
Risk class
You can set risk class as a number, between 0 - 20.
Enter your desired additional information and click Create site to proceed to the final, fourth step. You can return to the previous step by clicking Previous (the information you entered will be saved) or cancel the creation of a new branch from the < Sites link.
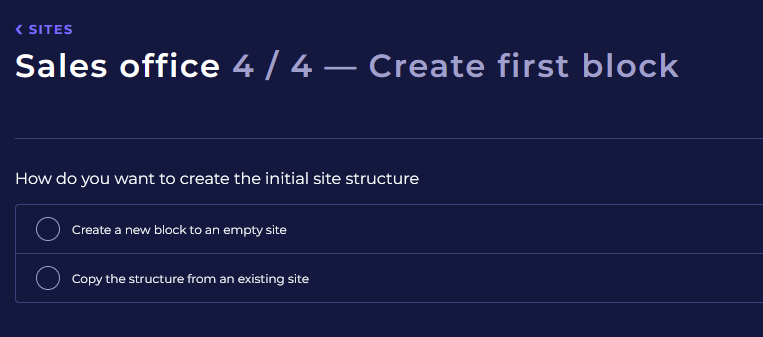
Step 4/4: Create first block
In the last step there’s a need to create the first block to the site. Control points of the site are located in a named block.
The new block can be created to an empty site or by copying the structure from an existing site. If there already are sites in the client, it’s recommened to copy an existing site. In this way site structure (blocks, control points, channels, scheduled tasks) are copied to the new site which makes it faster to create the structure for the site.
Create a new block to an empty site
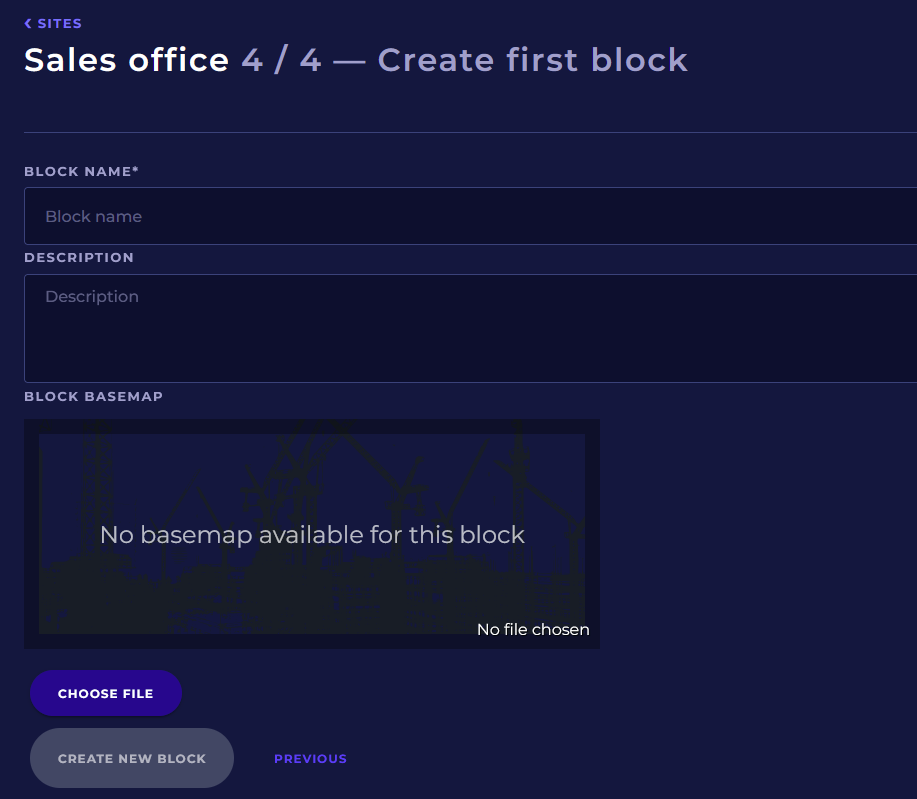
Block name
Give block a name which is unique inside the site. The maximum length is 50 characters.
Description
You can also provide a free-form description for the block, with a maximum length of 500 characters.
Block basemap
If possible, it’s recommended to upload a block basemap for the block. When a block basemap is available for the block, you can mark the locations of control points on top of the basemap This makes it easier to find the control points and their locations. You can use almost any image file as a basemap file. For example, you can take a picture of a building, block, or floor plan with your mobile device's camera and upload the photo as the basemap file.
Click the Choose file button to select the background image file from your device. Once you have selected and uploaded the file, a preview of the background image will appear on the screen.
Finally, click the Create new block button. You can return to the previous step by clicking Previous (the information you entered will be saved) or cancel creating the new site ocation from the < Sites link.
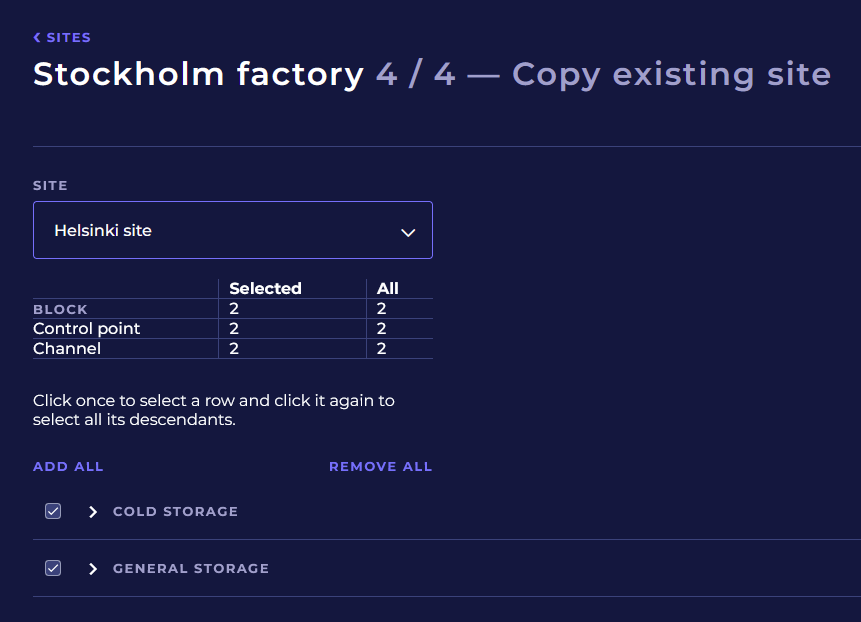
Copy the structure from an existing site
Select the site which structure is copied.
It’s possible to select which targets are copied. To do it, open the structure from the arrow next to the block name and select the targets to be copied.
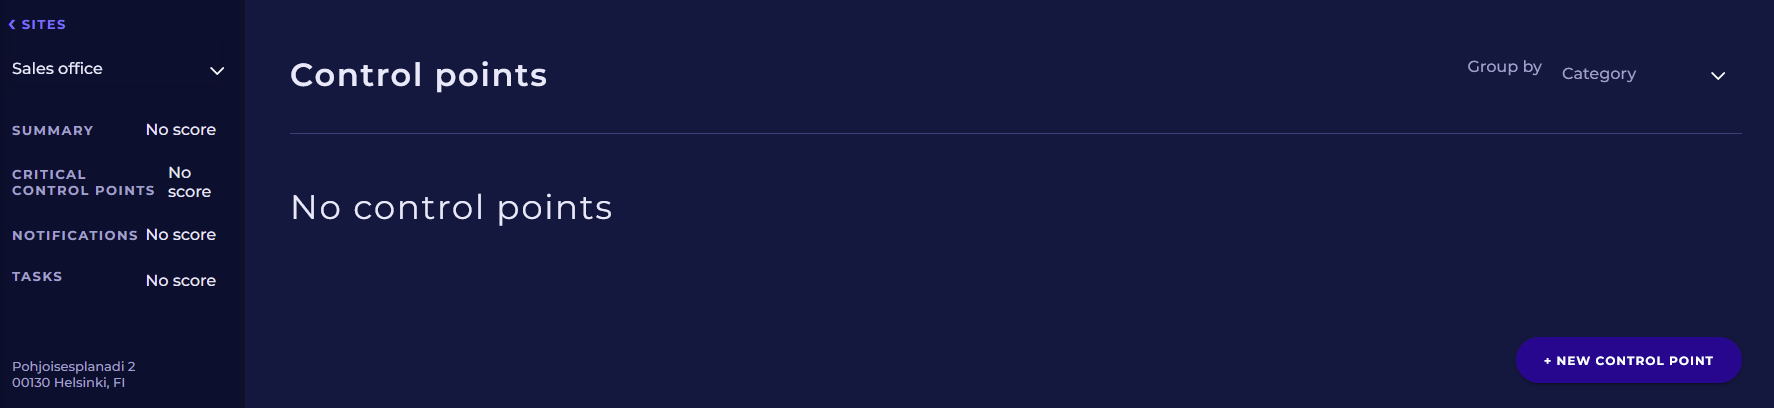
Next phase: Create the first control point
Once the new site and it’s first block have been created, you are moved to Control points site. Start creating the first control point by pressing +New control point button.
Read more: Creating new control point
In case you need to create more blocks for the site, you can do that in Sites “Properties and blocks”. Read more: Site