
Through the Devices settings page, you can see the devices belonging to your client account and their detailed information.
From here, you can also install the device quickly by clicking the Scan QR code button in the upper right corner and reading the QR code on the device nameplate. You can also install devices via control points.
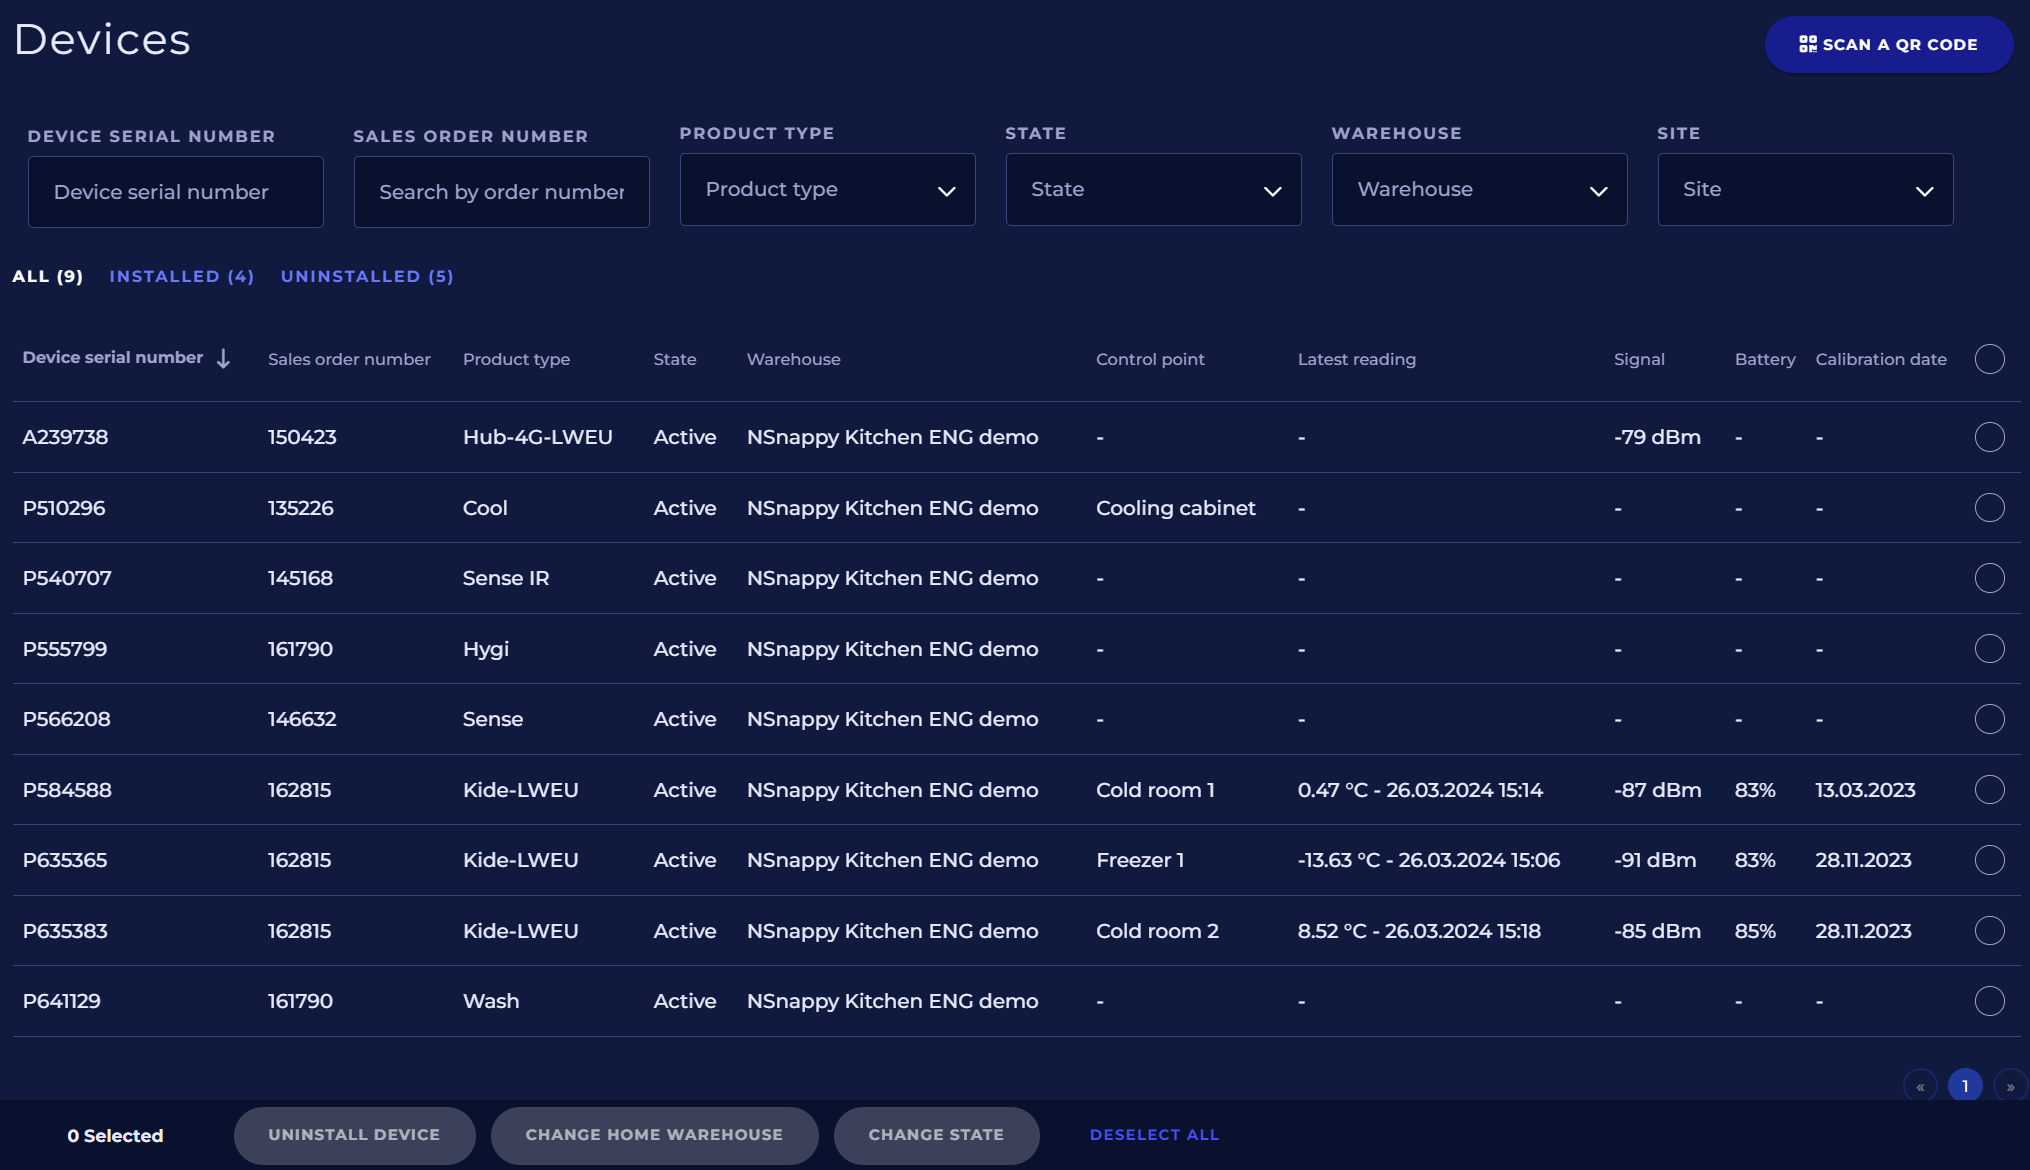
The device list shows all devices in the client account. The list has the following columns:
-
Device serial number
-
Sales order number
-
Product type
-
State
-
Warehouse
-
Control point
-
Latest reading
-
Signal
-
Battery
-
Calibration date
You can sort the device list by different columns by clicking on the column headers. An arrow appears next to the column heading, indicating which column the list is organized by and in which direction.
You can also filter the device list by device serial number, sales order number, type, state, warehouse and site. First enter or select the search criteria and then click the Search button.
If you want to see all devices in the list again, clear the search criteria and click Search.
Selecting and editing devices
Click on a device from the list to open the Device settings view, where you can view and edit device information.
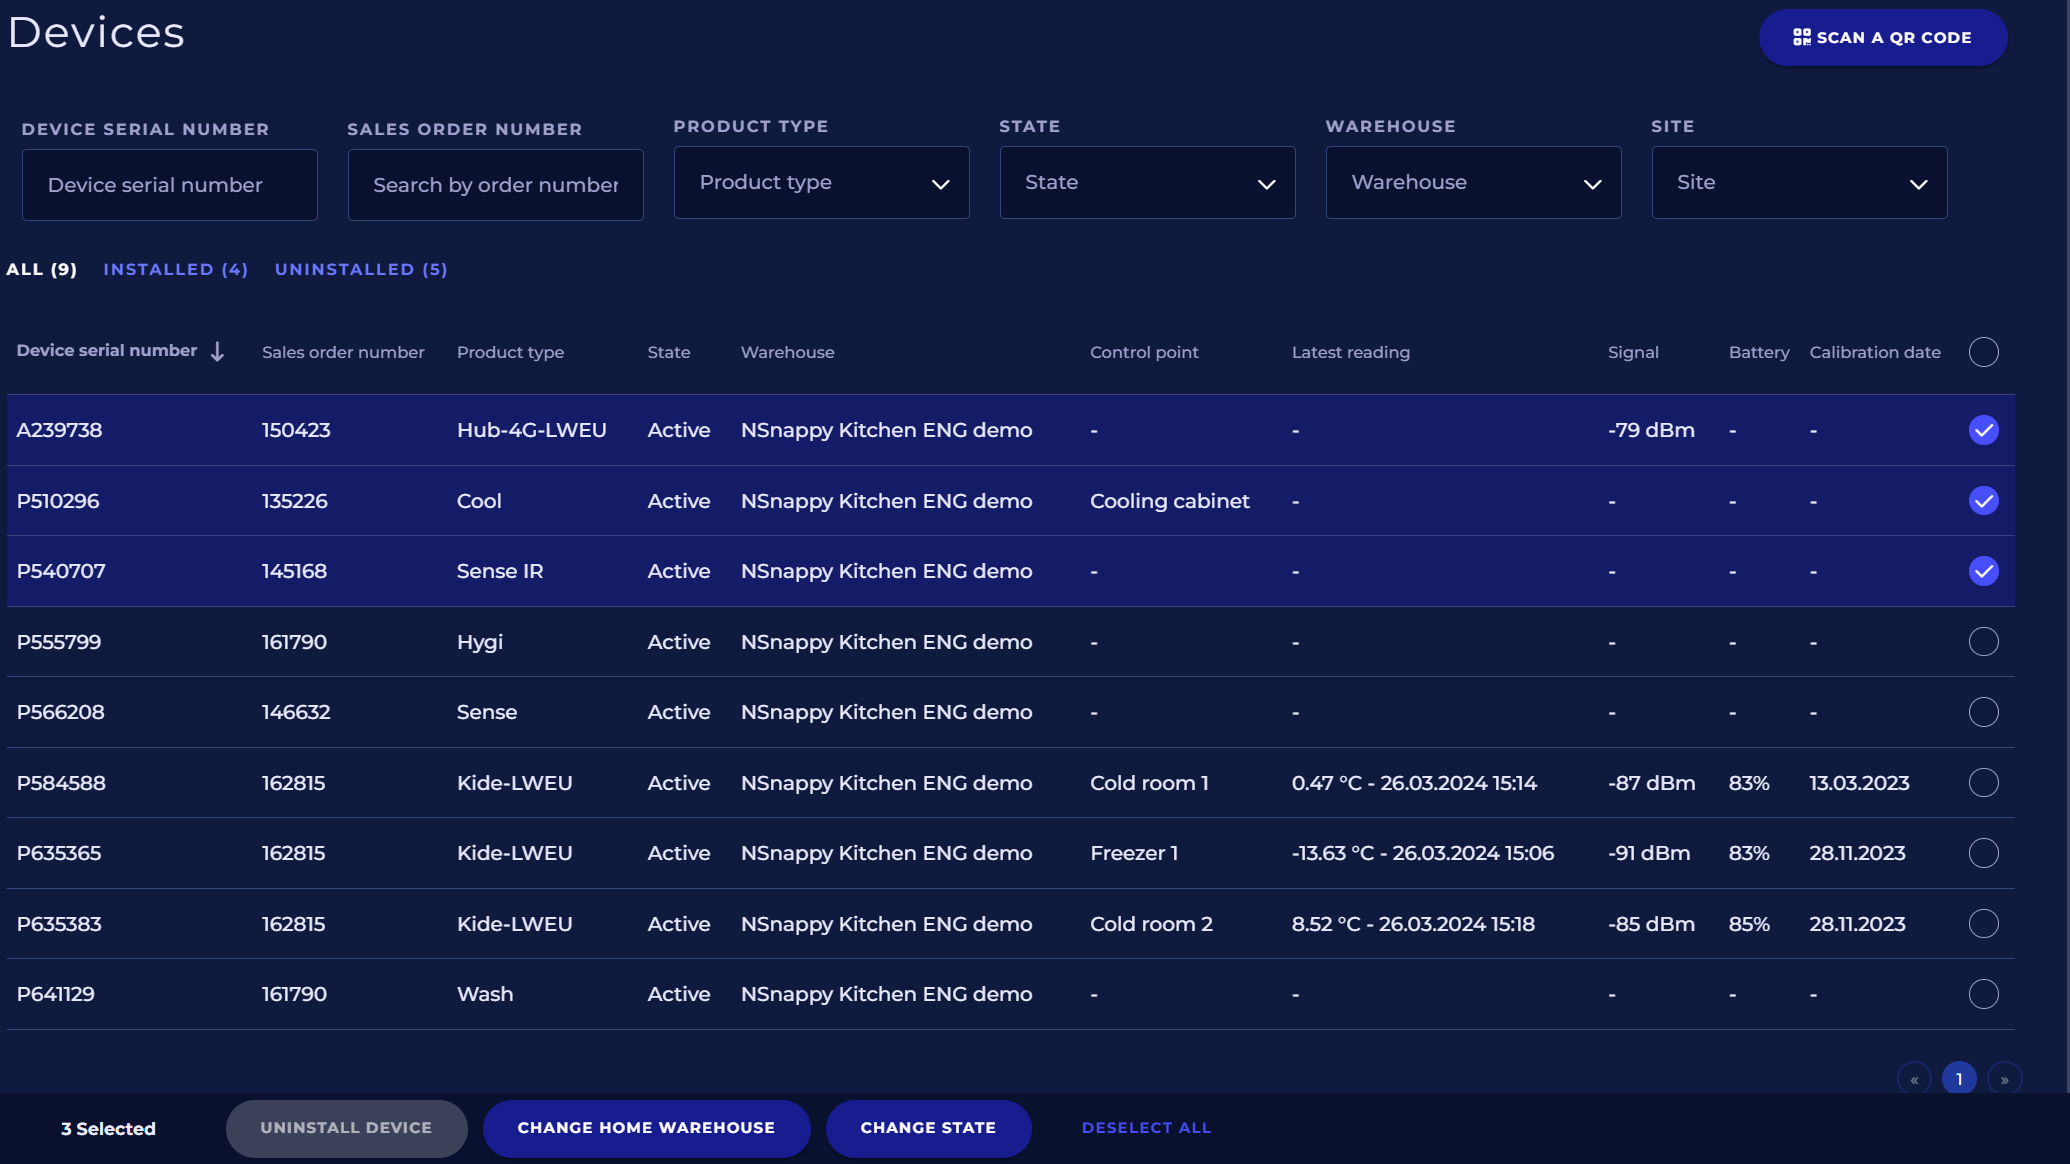
You can select one or several devices from the list using the checkboxes on the right side. You can select all devices on the page at once by clicking on the checkbox in the column header of the list. Once you have selected the devices, you can use the function buttons at the bottom to either uninstall the selected devices from the control points (Unistall device), move them to a different warehouse (Change home warehouse) or change their status (Change state).
Uninstall device
The NSnappy asks for confirmation before unistalling the selected devices from the control points.
When the devices are uninstalled, their data is no longer stored on the control points where the devices were installed before removal. After uninstalling, the devices are in their home warehouse and can be installed again, also at different control points than before. Read more about installing the device in the section Installing the device.
Please note that the data sent by the device is not stored anywhere when the device is not installed.
Change home warehouse
From the selection box of the warehouse, select which warehouse you want to move the selected devices to. This warehouse will become a new so-called home warehouse.
Read more about warehouses here: Warehouses
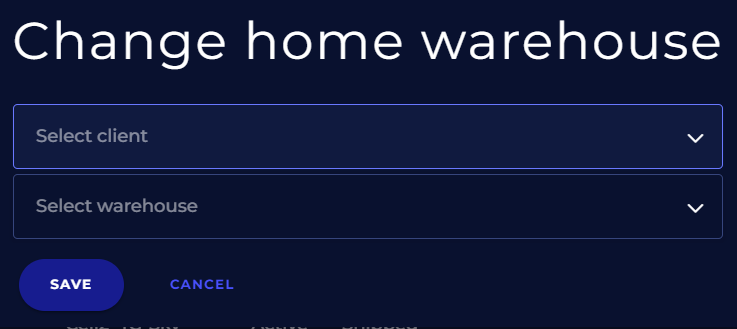
Select which client and which warehouse of thet client the devices home warehouse is changed to.
Please note that moving devices to a different home warehouse does not affect which control points the devices are currently installed on. In other words, uninstalled devices remain uninstalled, and devices installed in control points remain installed in their respective control points. This function only changes the home warehouse of the devices to which the devices logically return if they are removed from their control points.
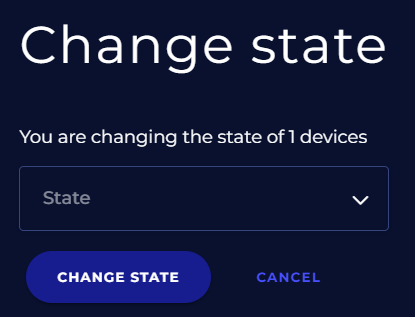
Change state
In the change state box, select in what state you want to change the selected devices to. Click Change state button.
The following table describes the meaning of the device states.
|
State |
Meaning |
|---|---|
|
Inactive |
The device is in a passive state from the point of view of the program: its data is not collected and the device cannot be installed at the control point. |
|
Active |
The device is in normal mode, i.e. active: it can be installed at the control point, after which the device data is saved. |
|
Decommissioned |
The device is permanently deactivated and its data is not collected or stored. The device is removed from the device list. Only disable devices that are broken or that you want to stop using for good. |
Installing the device
You can start installing the device in the NSnappy service from several different places:
-
From the Scan QR code button on the Devices settings page (Settings - Devices - Scan QR code)
-
From the Install device button on the Device's Settings page (Settings - Devices - Choose device - Install device)
-
From the Install device button in the Control point list on the Site page (Site - Choose site - Control points - Install device)
-
From the Install device button on the Device tab of the Control Point page (Control point - Choose control point - Device - Install device)
Depending on where you start installing the device, the Install Device dialog will ask for either the control point, the device, or both.
Selecting a control point
The control point can be selected from the drop-down menu.
Click the Select control point drop-down menu and select the control point where you want to install the device.
Please note that if the device type is already selected with the Install Device dialog, the drop-down menu only shows control points where the selected device can be installed. The appropriate device type for the control point is selected from the Properties tab of the Control point page.
Finally, click the Install Device button.
Selecting a device
The device to be installed can be selected either from the drop-down menu or using the QR code on the nameplate of the device to be installed.

From the drop-down menu
Click the Select device drop-down menu and select the device based on the serial number.
Please note that the drop-down menu only shows devices suitable for the control point. The appropriate device type for the control point is selected from the Properties tab of the Control Point page.
Finally, click the Install Device button.
Using the QR code
Click the Scan QR code button.
When your device or web browser asks for permission to use the camera, you must grant this permission.
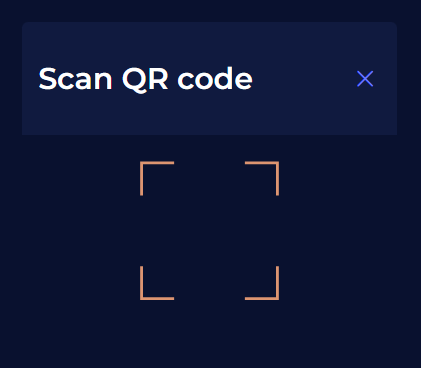
Aim the device's camera at the QR code on the nameplate of the device to be installed until the program recognizes the device from the QR code.
Confirm device installation
When you have selected both the control point and the device compatible with it, the program asks for confirmation to install the device. In the dialogue, you can also see a summary of the serial number and device type of the device to be installed, as well as to which control point you are installing the device.
Click Install Device to confirm device installation.
Click Cancel if you want to cancel the installation.
Device information
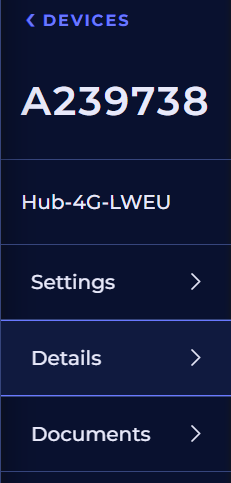
At the top of the Device information menu, you can see the link <Devices, from which you can go back to the device list.
Underneath it, the unique serial number of the device is displayed, below which the name that may have been given to the device is displayed (in the picture “Hub-4G-LWEU).
The device information is divided into three different pages: Settings, Details and Documents. Click on the menu tabs to go to the desired page.
Settings
From the Settins page you can
-
see and edit the name given to the device,
-
see if the device is installed and to which control point,
-
uninstall the device or install it on a control point,
-
see which device warehouse the device belongs to and you can change the device warehouse
-
see the status of the device and you can change it.
Device name
In this section, you can see the so-called a familiar name. Click the Edit Name button to enter or edit a name.
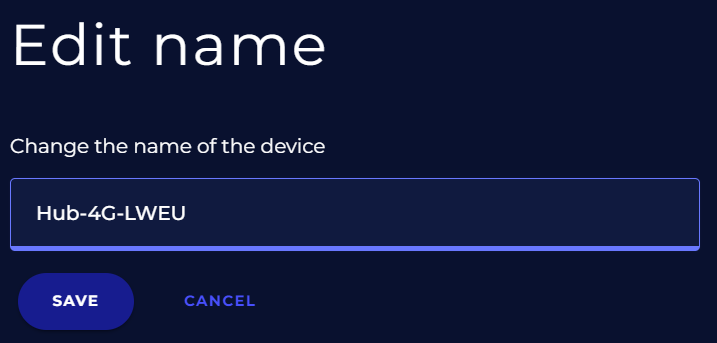
Edit the name and click Save.
Control point
If the device is installed, you can see here for which control point. In this case, below the name of the control point, there is a button Uninstall device from which you can uninstall the device from the control point.
If the device is not installed on any control point, it says "Device is not installed" below. Below this is the Install Device button where you can install the device on the control point. Read more about installing the device in the section Installing the device.
Warehouse
Here you can see the name of the device warehouse. The name of the device warehouse is also displayed when the device is installed at the control point. The device returns to this device warehouse when it is uninstalled.
Click the Change home Warehouse button to select a new home warehouse for the device. Read more about this in the section Change home warehouse.
State
Here you can see the status of the device: passive or active.
Click the Change state button to move the device to a different state. You can change the status of the device if the device is not installed at any monitoring point. Read more detail in the Change state section.
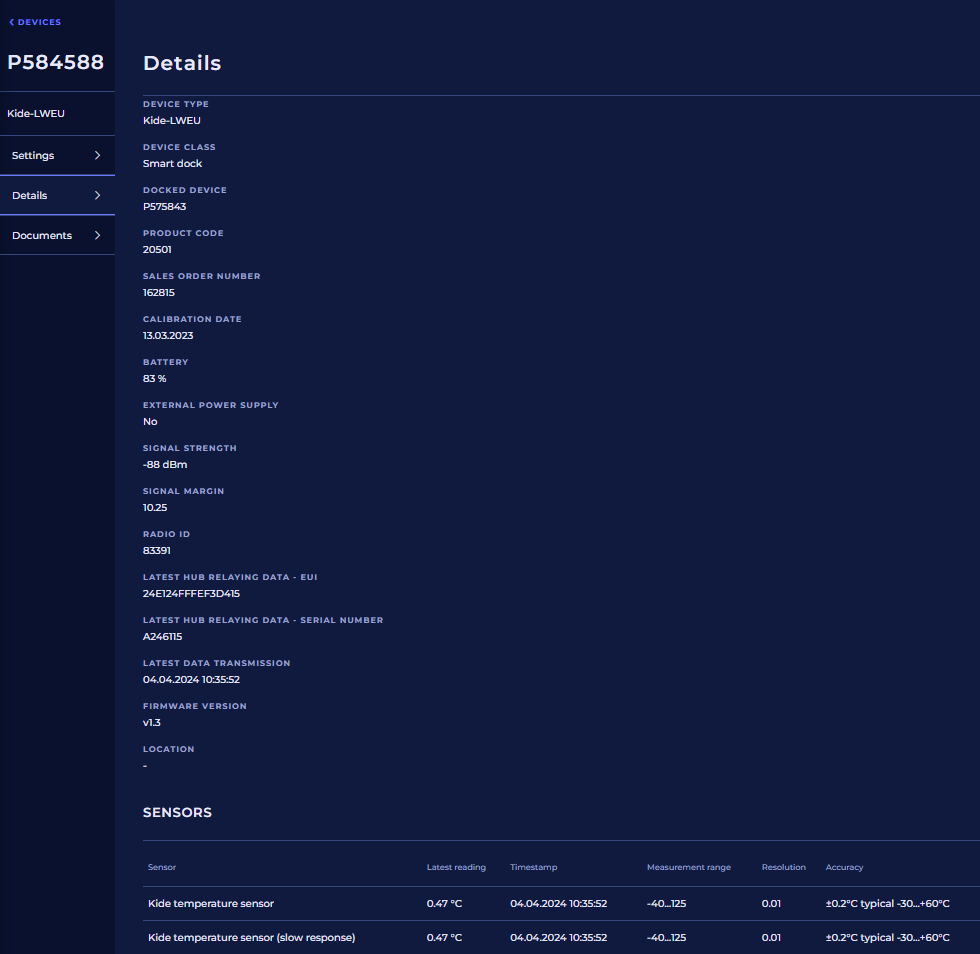
Details
On the Details page you can see detailed information about the device and its operation.
Device type
Here you can see the type name of the device.
Device class
In this section, you can see which category the device is.
Docked device
Here you can see the serial number of the device attached to the wall mount. This is used with NSnappy Kide transmitter.
Product code
Here you can see the product code of the device for customer support and additional orders.
Sales order number
Here you can see Nokeval's sales order number, based on which the device was originally delivered.
Calibration date
In this section, you can see the date of the last calibration of the device, if this information is available on the device.
Battery
In this section, you can see an estimate of the remaining capacity of the device's battery in percent, if this information is available on the device.
Excternal power supply
Here you can see if an external power source is connected to the device.
Signal strenght
Here you can see the signal level of the device's last received radio transmission, if this information is available from the device.
Signal margin
Here you can see the signal margin of the device's last received radio transmission, if this information is available from the device.
Radio ID
Here you can see the ID of the radio.
Latest hub relaying data - EUI
Here you can see the EUI number of the hub that transmitted the last radio transmission received from the transmitter.
Latest hub relaying data - Serial number
In this section, you can see the serial number of the hub to which the device was most recently connected.
Latest data transmission
In this section, you can see when the device last sent data to the hub.
Firmware version
Here you can see the version number of the device's internal software, if this information is available on the device.
Location
Here you can see the coordinates of the device's last known location, if this information is available from the device.
Sensors
The sensor list shows information about all sensors on the device. The following information is listed for each sensor:
-
Sensor name
-
Latest reading
-
Timestamp when the last measurement value was received
-
Measuring range of the sensor
-
Resolution of the sensor
-
Sensor accuracy
Documents
On the Documets page, you can see and manage the documents related to the device.
Read more about document management here: Documents.
Usage rights for devices
|
Data viewing |
Viewing permission to warehouse or to Control point / Block / Site / Client |
|---|---|
|
Data viewing and editing |
Warehouse admin Client admin permission |
|
Creating and deleting devices |
Devices can only be deactivated |
Usage rights for sensors
|
Data viewing |
Viewing permission to warehouse / device or to Control point / Block / Site / Client |
|---|---|
|
Data viewing and editing |
Warehouse/device admin permission Client admin permission |
|
Creating and deleting sensors |
No permission |
Usage rights for device type
|
Data viewing |
With all the rights of the service |
|---|---|
|
Data viewing and editing |
No permission |
|
Creating and deleting device type |
No permission |
Usage rights for sensor type
|
Data viewing |
With all the rights of the service |
|---|---|
|
Data viewing and editing |
No permission |
|
Creating and deleting sensor type |
No permission |