
Teams are used to efficiently manage usage rights granted to user groups. Instead of granting usage rights to individual users for each target, it's much more practical to create appropriate teams and grant access rights for the targets by using teams. Once a teams are created, you can add the right users to the right teams, allowing users to inherit usage rights from the team. A single user can also belong to multiple teams.
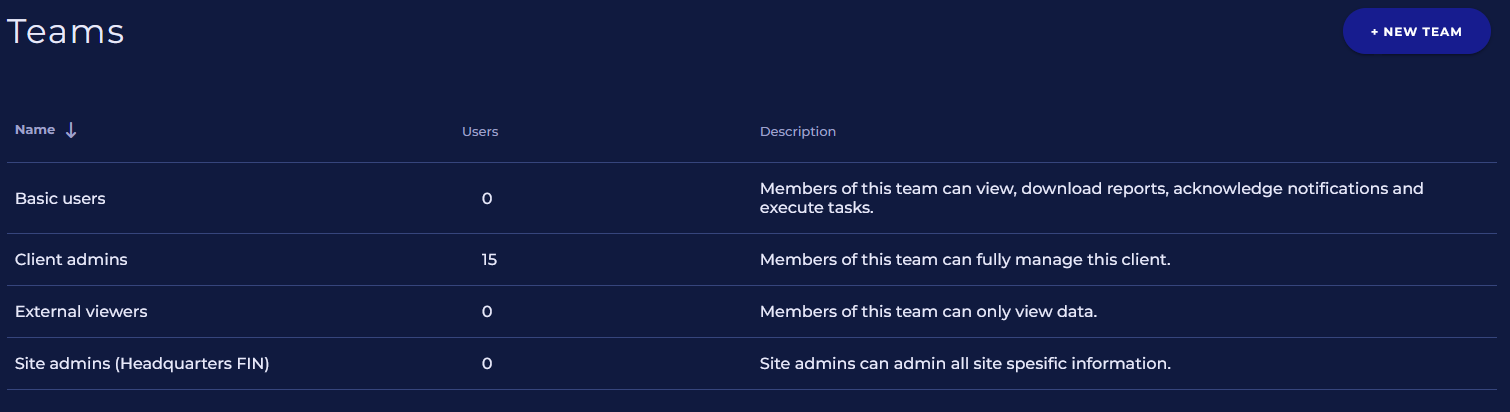
Teams view shows all teams of the client, amount of the users in the teams and descriptions of the teams.
Creating a new team
Start to create a new team by pressing “New team” button.
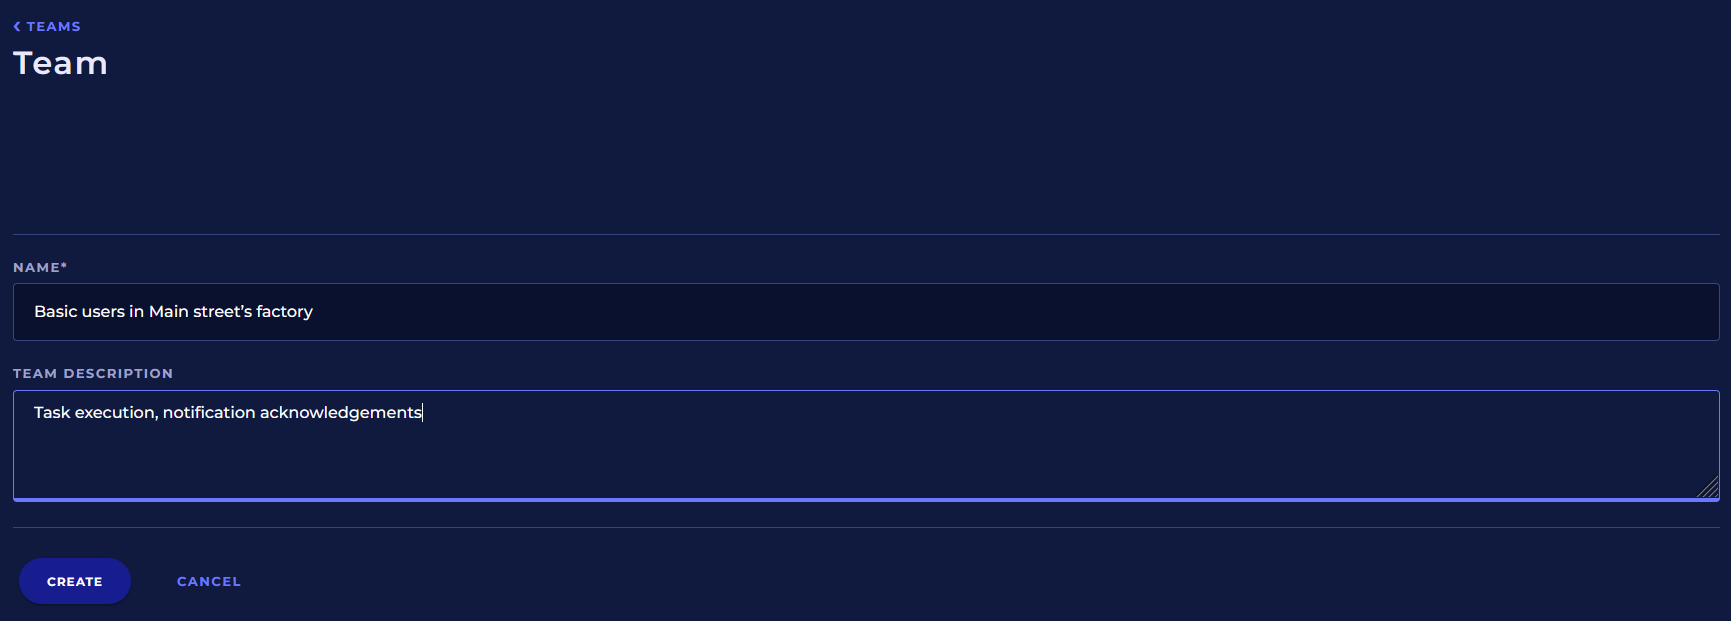
Name
Give an unique and informative name for a team to be able to easily see who are the members of the team.
The maximum length is 50 characters.
Example of team’s name
Client has a site called Main street’s factory. This site has site admins, who should be able to admin site settings. In addition, site has basic users executing tasks and acknowledging notifications.
Two teams are created for the site:
-
Admin users in Main street’s factory
-
Basic users in Main street’s factory
Team description
It’s possible to add a separate team description, e.g. which permissions are granted for the users belonging to the team.
The maximum length is 200 characters.
Press “Create” button to complete the team creation.
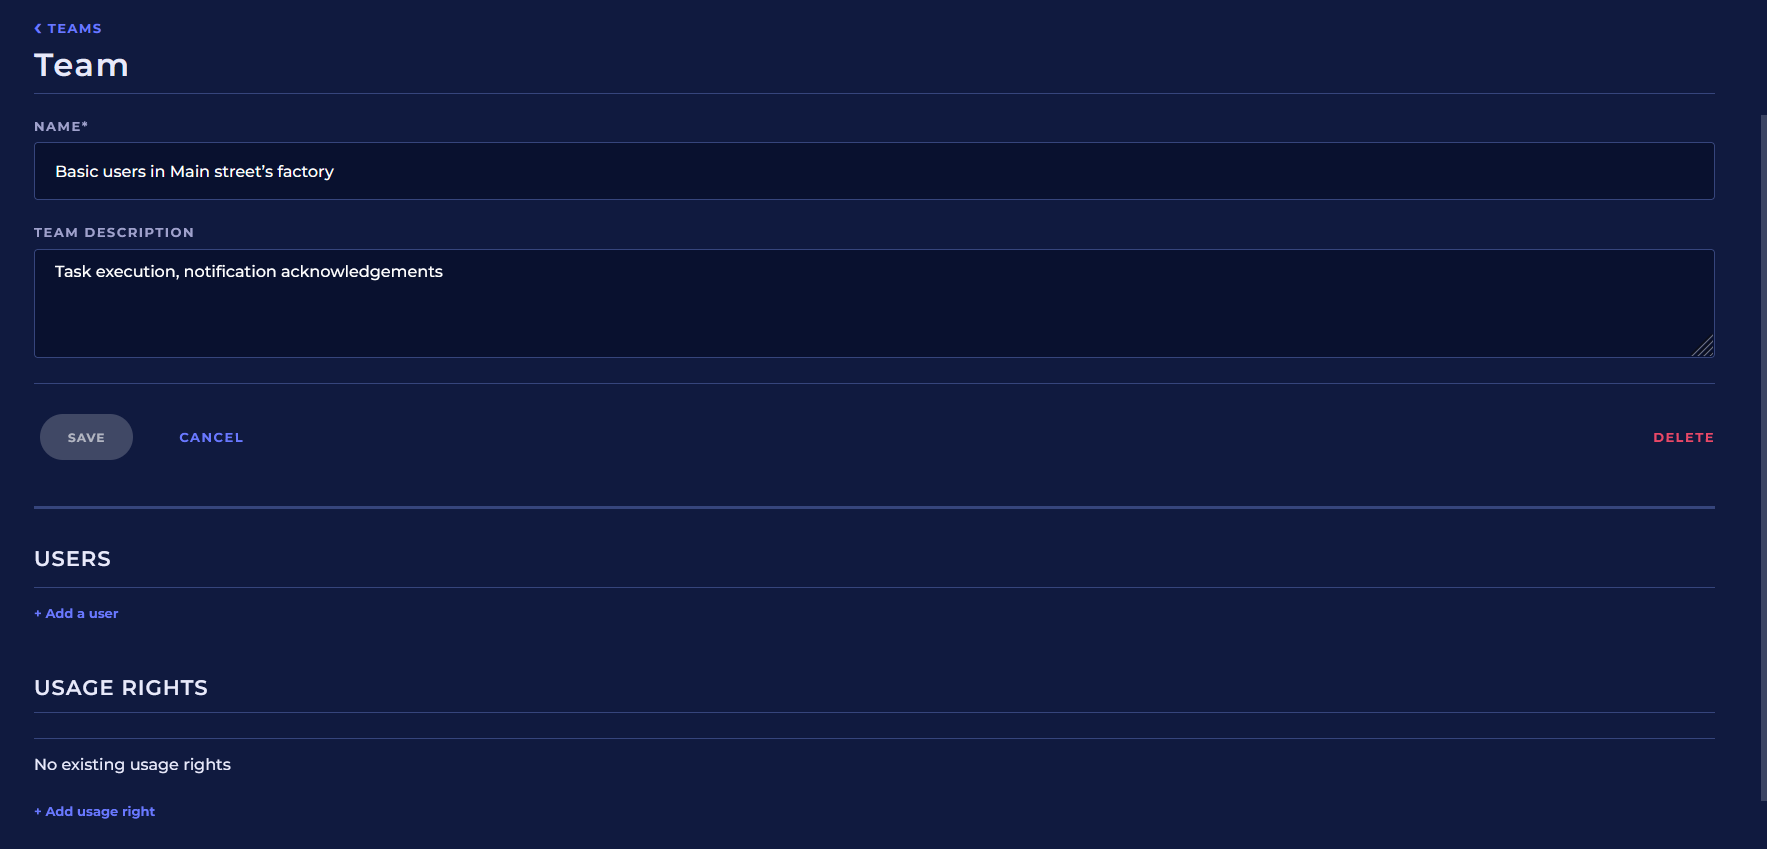
Once the team is created, you will be moved directly to view where team settings are edited, users are added and usage rights are granted.
Editing and deleting a team
In editing view of a team, it’s possible to
-
Edit name and description of the team
-
Add and delete team member (users)
-
Edit usage right of the team
Team can be deleted by pressin “Delete” action. Note that this action can’t be undone.
Adding users to a team
Note that the user account must be created before user can be added to a team.
Read more: Users
Users are added to a team one-by-one.
Press “Add a user” action.
After that, click “Users” menu.

Select a user from the list.
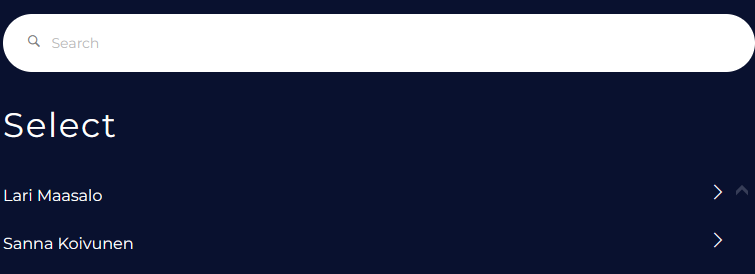
Press “Add a user” button.

User is now added to the team.

User can be removed from the team by pressing the trash bin icon.
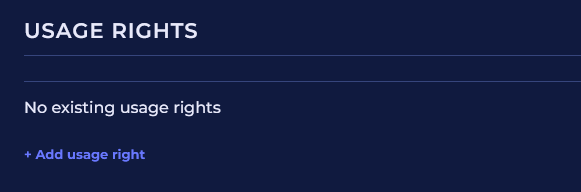
Adding usage rights
Press “Add usage right” action.
A view for adding usage rights is opened.
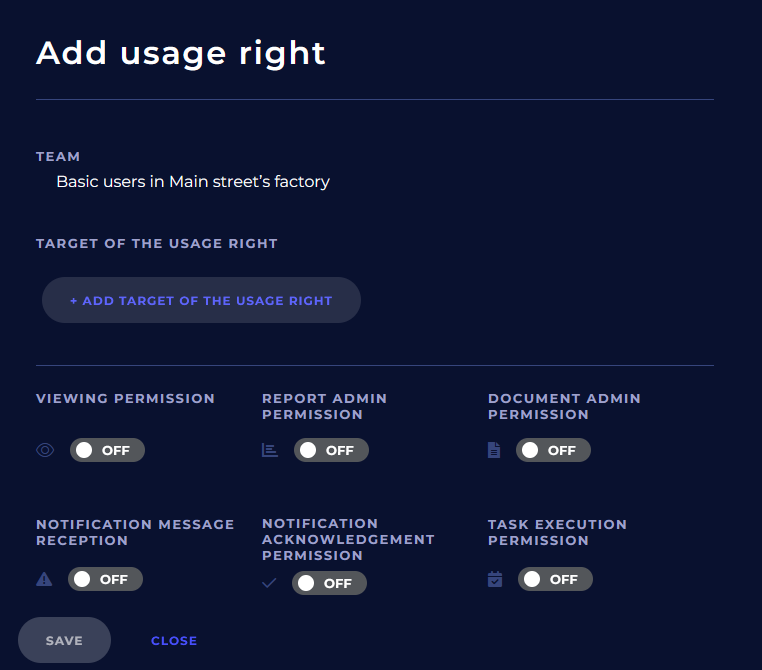
In the “Team”, you can see to which team the usage rights will be granted.
Give the target of the usage rights by pressing “Add target of the usage right” button.
Selecting the target
In “Select target” view, you can search and select target where the team needs the usage rights.
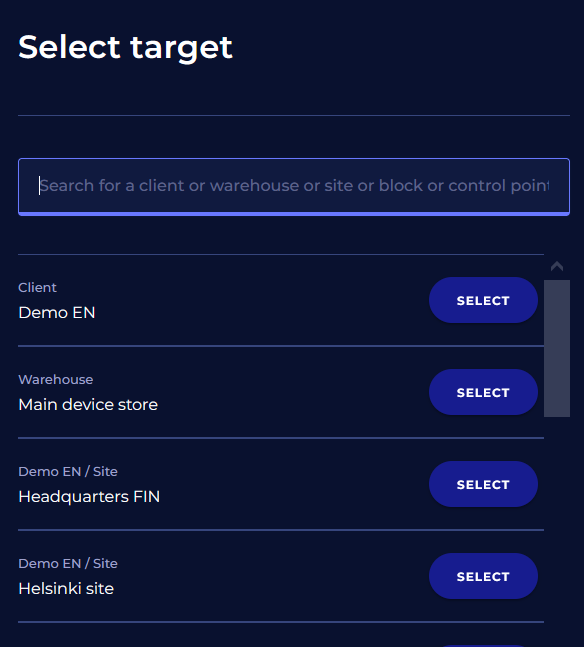
You can search targets by typing a name of the target or a part of the name to the search field.
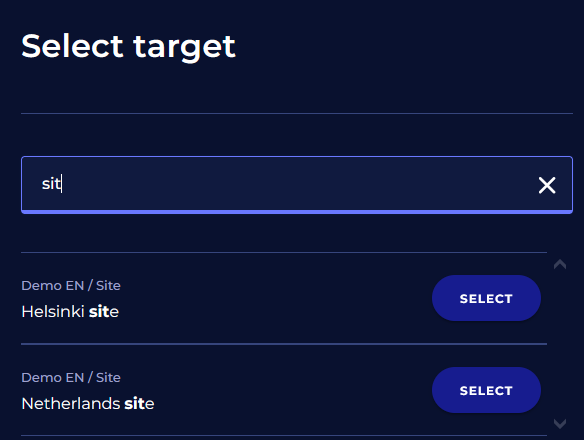
When the correct target is found from the list, press “Select” button.
Select target view is closed and the selected target is now visible in the “Target of the the usage right” field in the “Add usage rights” view.
Permissions
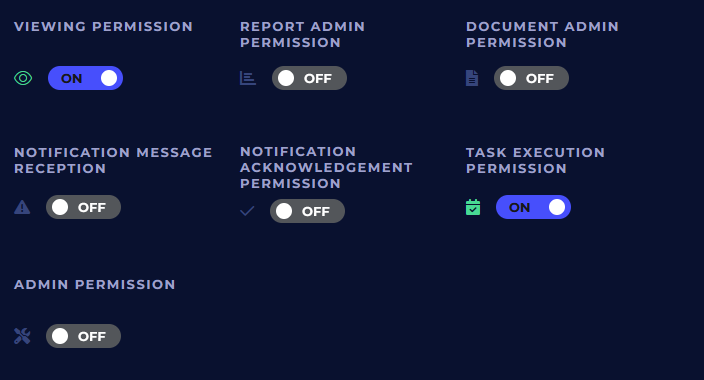
Usage right is granted by clicking it’s on-off button to “On”. To remove usage rights, click the button to “Off”.
Read more: Usage rights
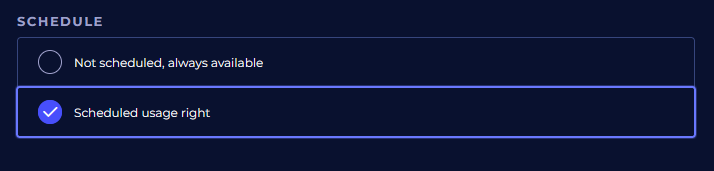
Schedule
Usage right can be scheduled by selecting a proper schedule for it. Scheduled usage right is only valid when the schedule is active between its start and end times.
By default usage rights are not scheduled. If ther’s a need to schedule the usage rights for a certain schedule, select “Scheduled usage right”.
After that, select a proper schedule from the dropp-down menu.
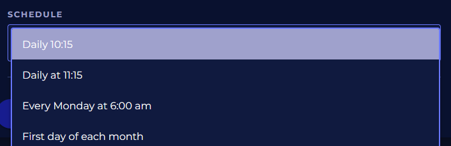
Read more: Schedules
Editing and deleting usage rights
Click the pen icon to edit or delete the usage right.

Edit usage rights view is opened. In this view it’s possible to edit the usage rights for the selected target.
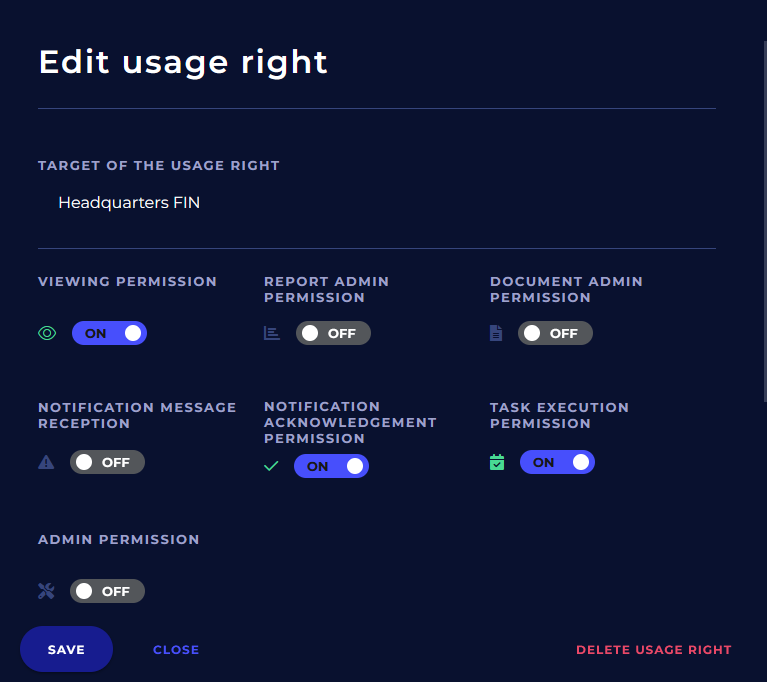
Usage rights are modified by using On-Off buttons.
Once ready, save the changes.
Usage right can be removed by pressing “Delete usage right” action.
Viewing the usage rights
Summary of team’s usage rights is available in the Usage rights list.
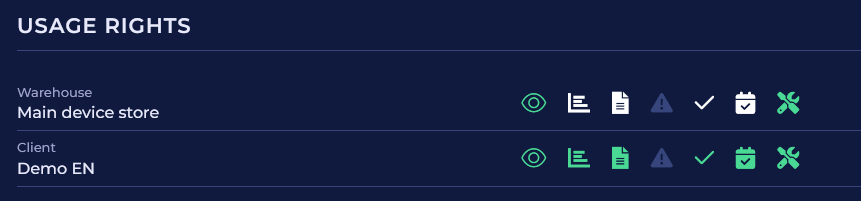
Granted usage rights are listed based on targets. Team’s permissions are shown by using icons of different colors. The name of the permission is seen by hovering the mouse over the icon.
Icon colors for the permissions
|
Color of the icon |
Meaning |
|---|---|
|
Dark blue |
There’s no permission for the target. |
|
Green |
Permission is granted for the target of this row with this specific permission row. |
|
White |
Permission is inherited from some other usage right. |